How ANYBODY Can Screen Print At Home
May 11th, 2021 by Graci Phillips
Quickly and easily deploy time-tested marketing campaigns with Indepreneur's INDIEPRO training library. Become an INDIEPRO member and learn how Indepreneur can help you break out of your current music scene, build a trackable fan base, and sell music and merchandise. Learn more now!
If you’re a grassroots artists, or just an artist that’s never made their own merch before, it can seem scary. Ordering CDs, T-shirts, hoodies!? How does an artist on an indie budget afford it?
As someone who has now screen printed hundreds of shirts, koozies, posters, and sweatshirts, all in my own garage--I can tell you first hand that merchandising can feel expensive and complicated. But, the good news is, it doesn’t have to be! The other good news? I personally spent the time learning all the messy ins and outs of screen printing at home so you don’t have to! And now, I’m here to tell you how. In this tutorial, I’m going to show you how you can print your own custom shirts, hoodies, koozies, or whatever else--at home, with $125 or less and the power of FITFON...
Figure It The F*ck Outedness

What’s FITFON, you might ask? FITFON is the definition of the Indie spirit. It’s doing whatever you have to do to find solutions. We are all about problem solving at Indepreneur, and that same attitude is what will help you on your journey of screen printing at home!
At the bottom of this article I’ve provided a full list of everything you’ll need, including links to purchase materials. So, let’s get started!
Preparing Your Silk Screen
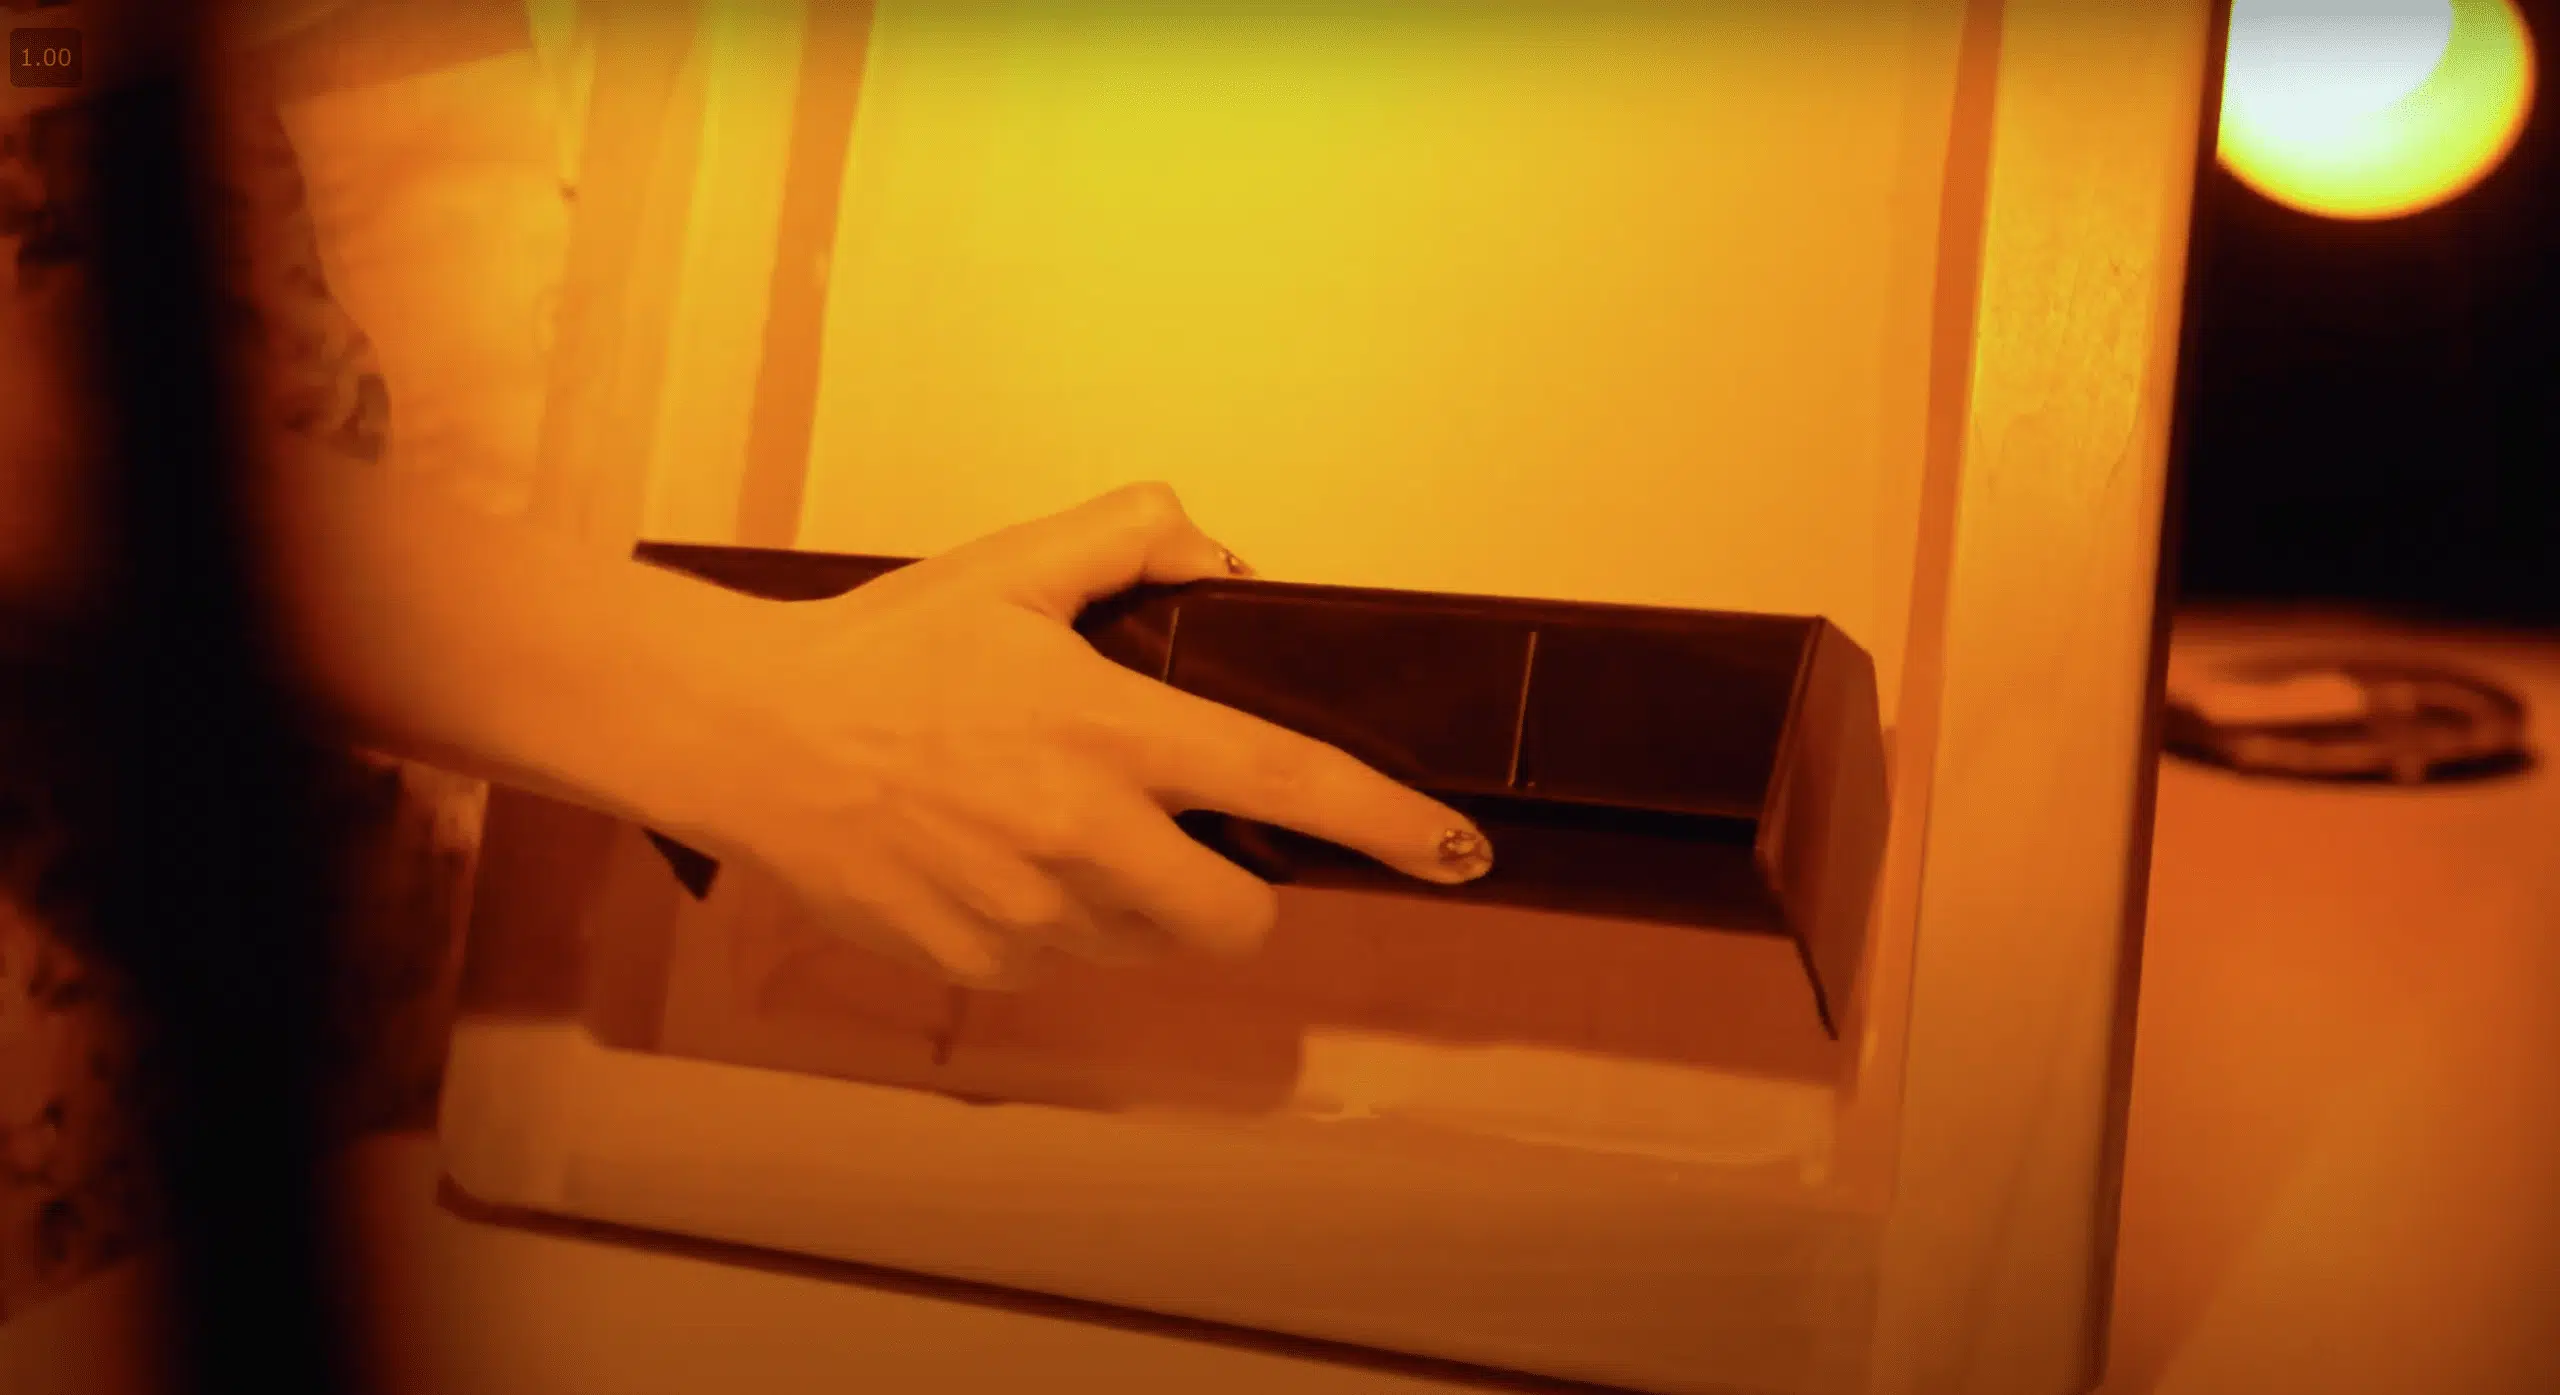
The first thing you’ll need is a clean silk screen. This is what we’ll burn our design into--but more on that later. To start, make sure your silk screen is clean and dry.
To burn our design into the screen we need something special, screen printing emulsion. Screen printing emulsion is a UV light sensitive coating that goes onto our silk screen. Because it’s UV light sensitive, meaning we use UV light to “burn” our design into it, it’s important to do this step in a room where there is no sunlight and you can control the light source. A windowless bathroom or garage is great! Obviously, you can’t work in the dark. So you’ll need a “safe light.” A yellow or red LED light is perfect, and cheap. This is the only light source that you’ll want to use until the burning process is complete.
FITFON TIP: Don’t have a windowless bathroom? Do it at night, you silly goose.
Once your emulsion safe light is set up, it’s time to coat your screen with the emulsion, using a scoop coater that covers nearly the full width of your screen. This is important to make sure you get an even coat. You’ll want to run one solid, even coat across both side of your screen making sure to cover the majority of it. Then, you’ll leave your screen to completely dry. And remember, only yellow or red LED lights are safe for your screen at this stage! While our screen is drying we can prep our design.
Preparing Your Design
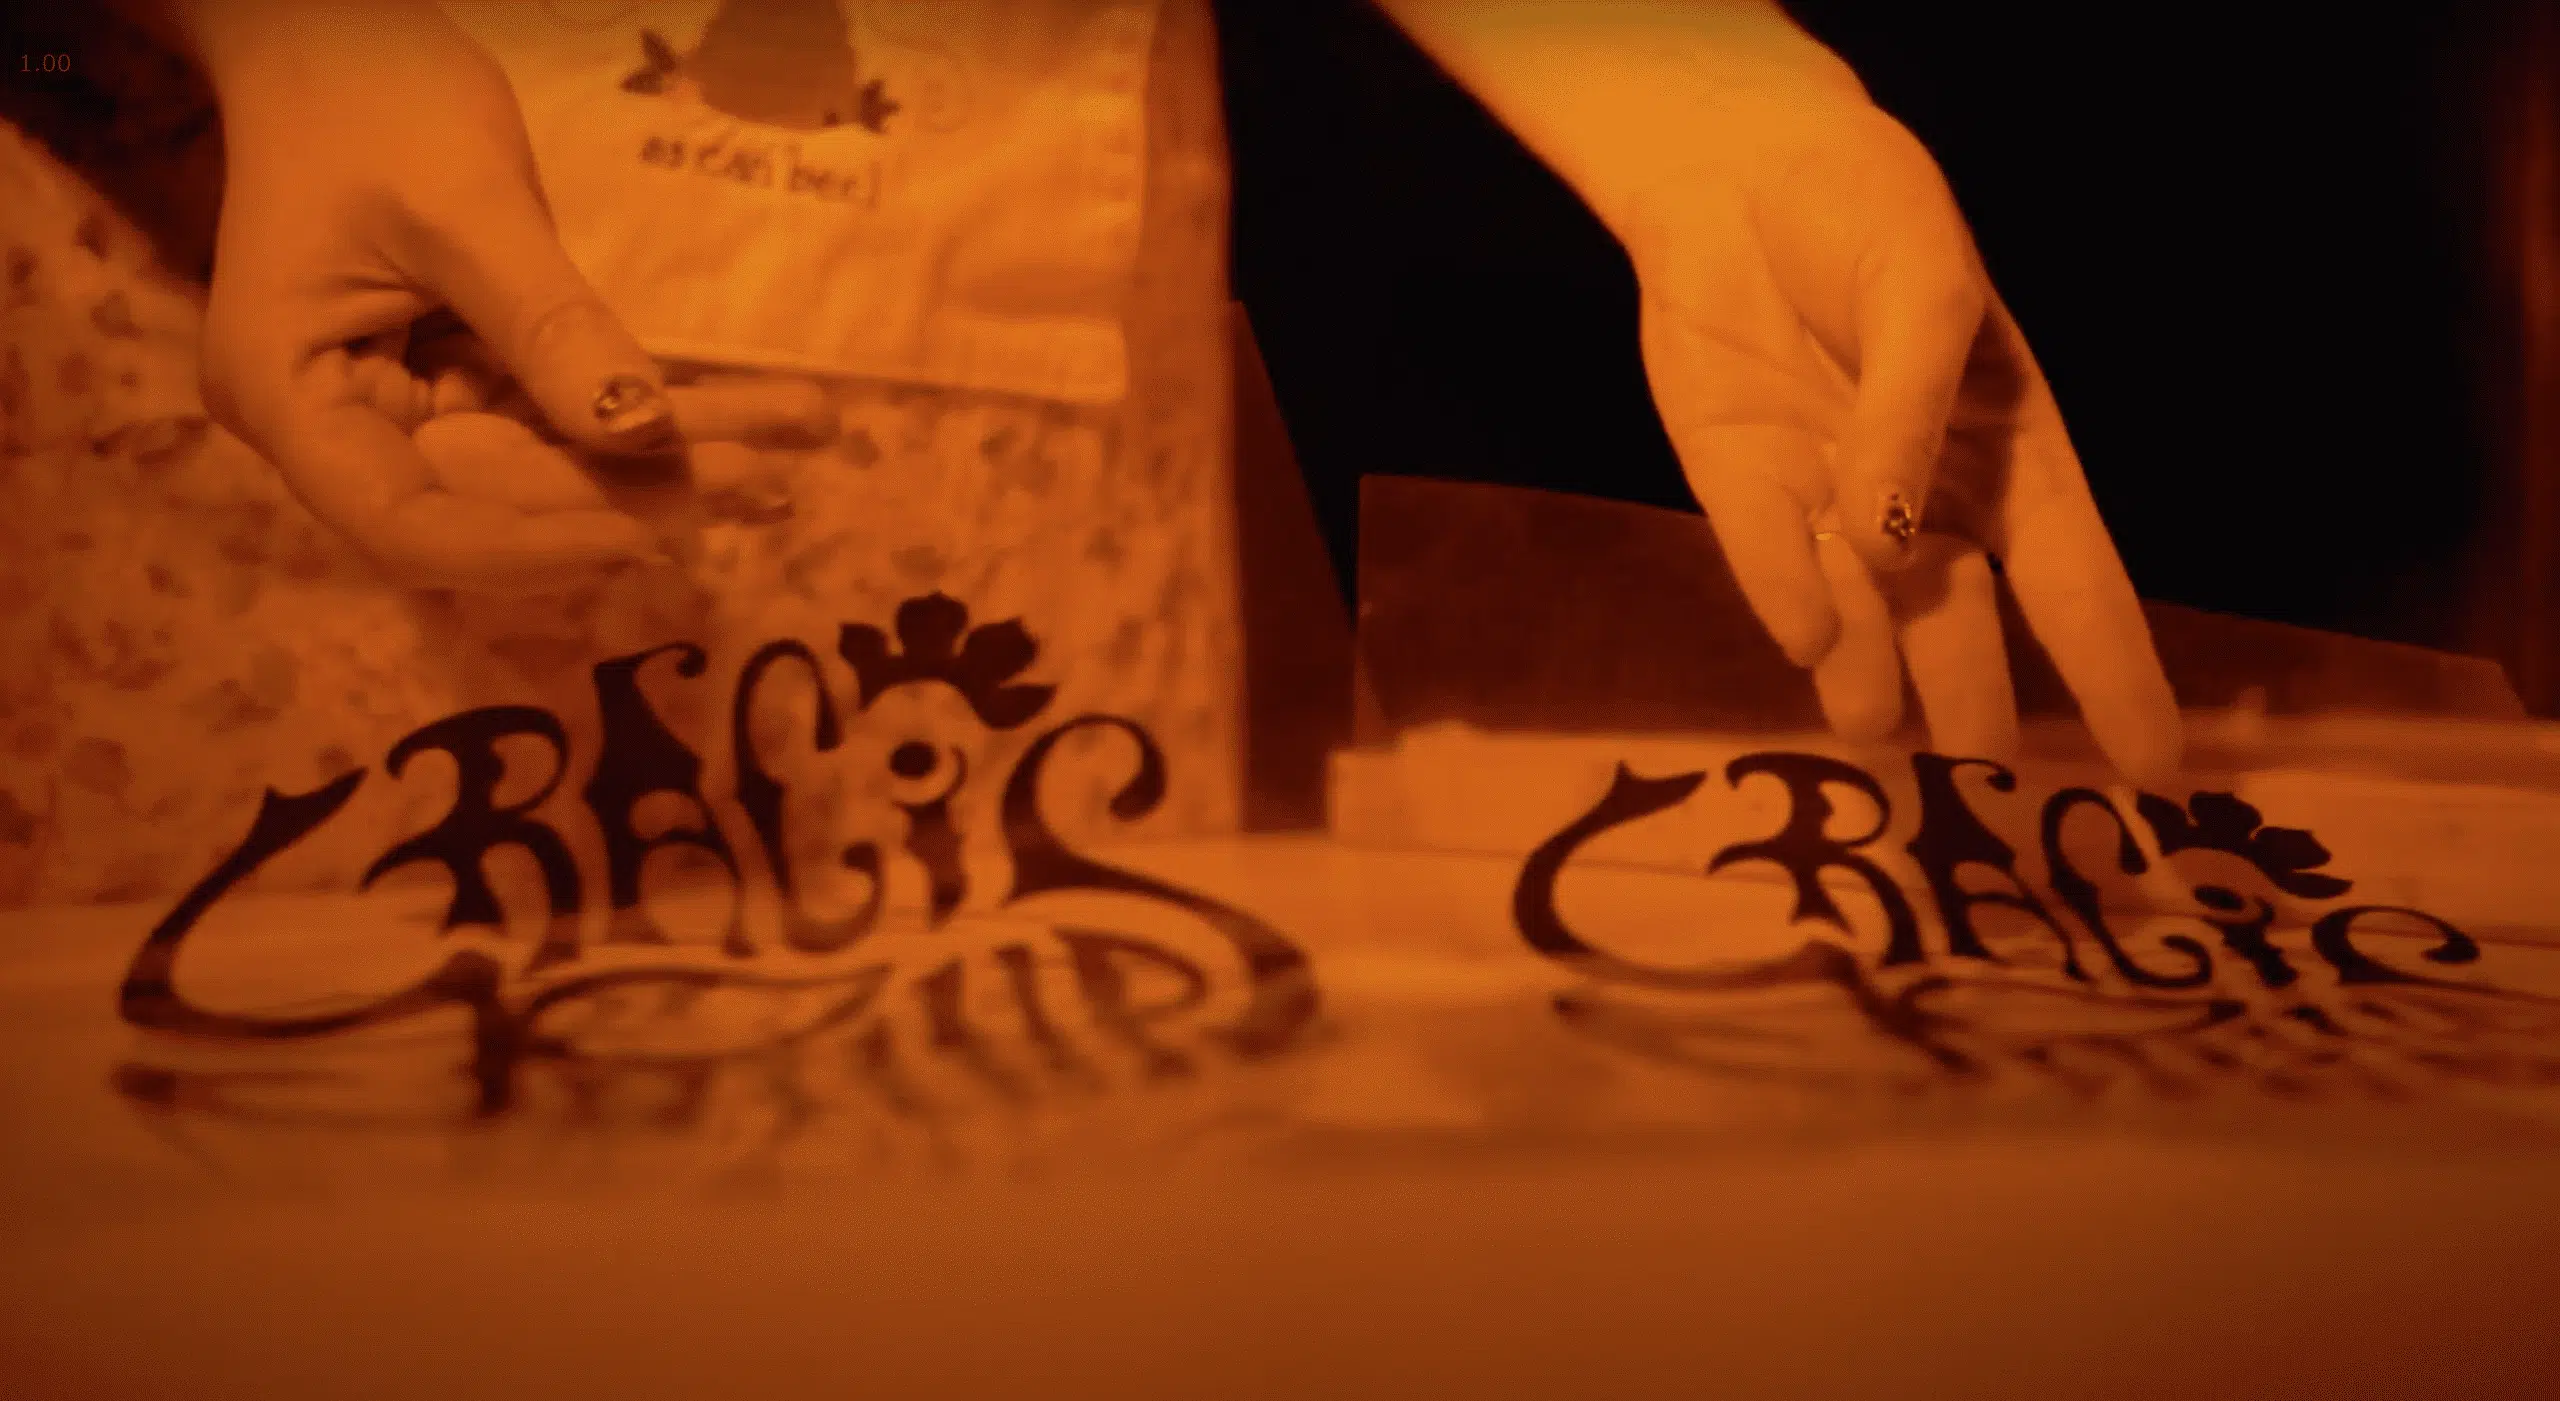
If you’re just starting out, a simple one color design will yield you the most success. Once you have your design ready, you’ll need to print your design in all black on transparency film. Regardless of what color you're going to use for actual printing, your design has to be in black for this step of the process. If you have a printer, you can buy transparency film that will work for your specific printer and print your design at home. Or, you can use an office printing service to print them for you. You’ll need two identical copies of your design in black on transparency film. Once you have your copies you’ll want to use clear tape to tape them together, essentially making sure that the design is dark enough that light can’t pass through.
FITFON tip: If you don’t have access to a printer or a FedEx, there’s a couple more places you can try. Sometimes your local library has a public access printer that you can use if you bring your own transparency film! Also, check Facebook for local arts/creative groups. One time I needed a large transparency print, bigger than FedEx could print and sooner than I could order online to have shipped. I was able to post my need in a local creative group and find someone who had a home set up. $5 and two hours later I was able to pick up the transparency from them, thus saving my ill planned printing session.
Burning Your Design
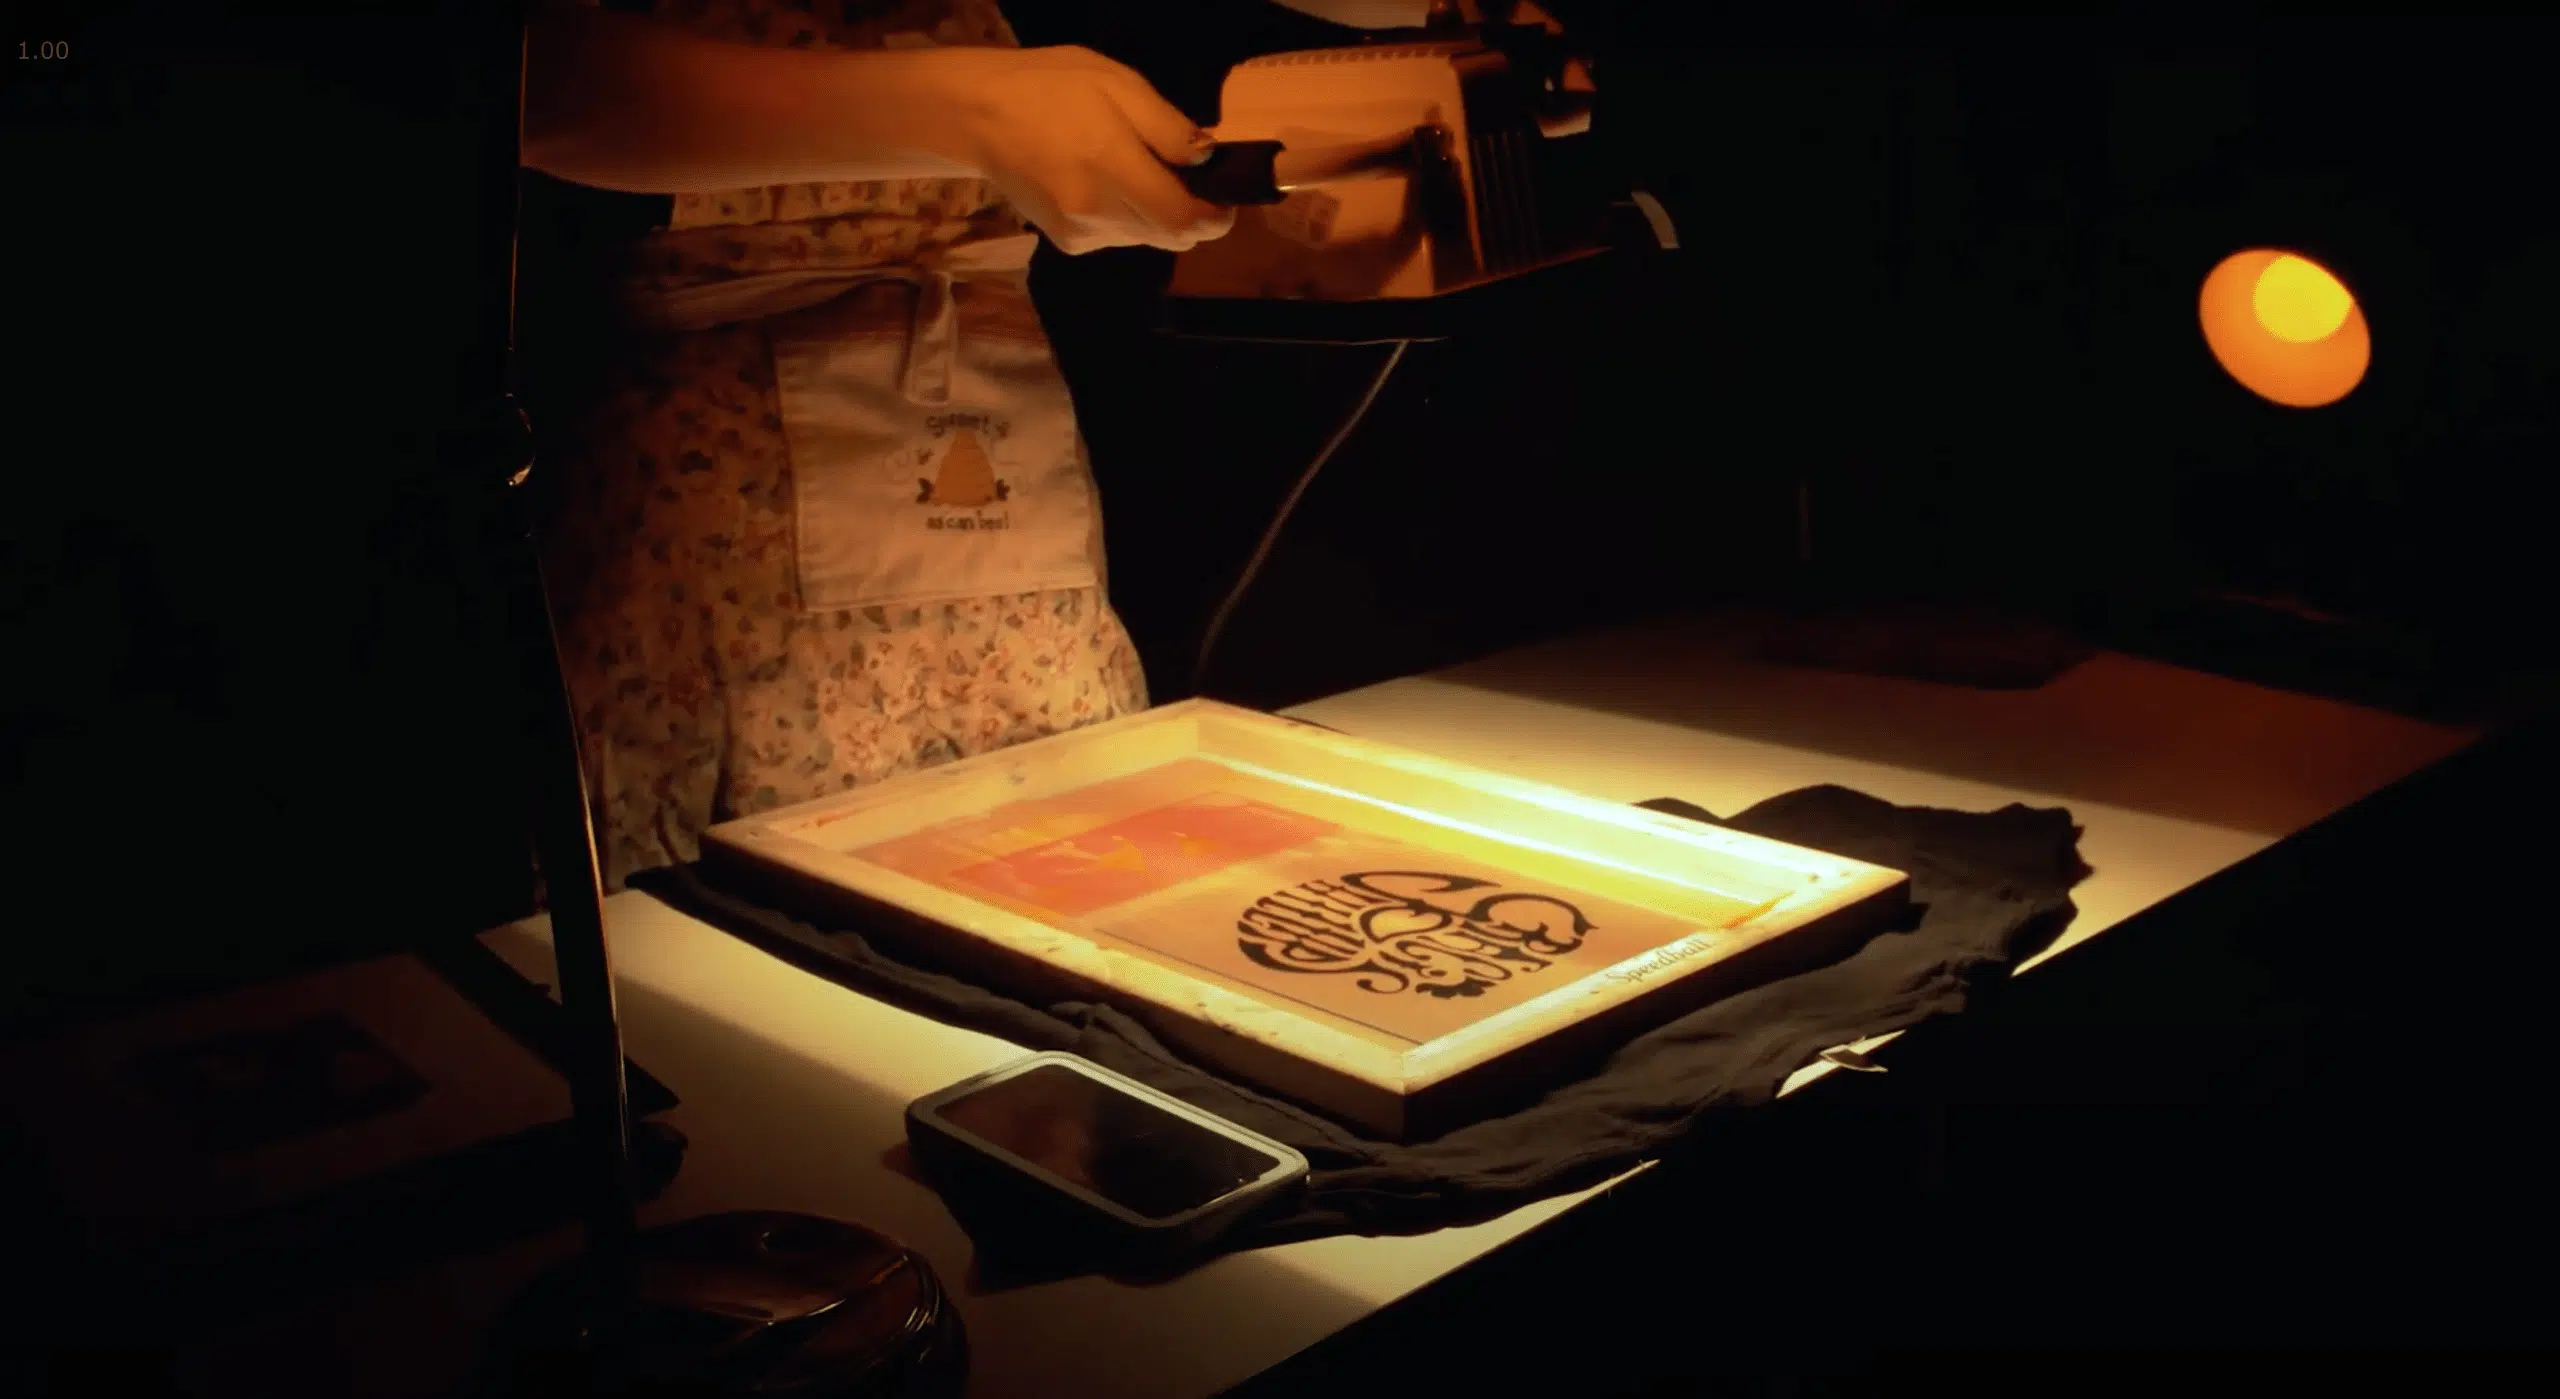
Once your screen is completely dry, it’s time to burn your design. For this step you’ll need a flat surface, your screen, your printed and taped design, a 500 watt halogen work light, a flat piece of glass, and black or dark fabric. First, lay out the fabric, and then put your screen on top with the flat side down. Then, position your design on the top of the screen inside the frame. This part is important to think about, because it will affect how you print. For instance, if you burn your design in crooked, you’ll have to put the screen down crooked on your fabric to get the design straight. So, measure twice, burn once. Once your design is placed, put the piece of glass over it. The glass and the black fabric ensure that light is only going in places you want, and that something like a shadow from the transparency film won’t affect your final design.
FITFON tip: If you go out and buy a piece of glass, I will be so upset with you. Walk around your house and find a nice picture frame that you can borrow for a minute. Additionally, if you don’t have a piece of black fabric, find a black piece of clothing light a tshirt to use instead.
Now that that’s all in place, it’s time to expose the screen. For this part it’s really important that you time the screen exposure according to the emulsion manufacturers instructions. Exposure times vary from emulsion to emulsion, so always double check! Once you know how long you need to expose it, set a timer on your phones, turn on the halogen light, and wait!
Once the timer is up, turn off your halogen light immediately making sure the only other light source in the room is your emulsion safe yellow or red LED light. Now it’s time to develop and rinse our screen. When you first remove your glass and transparency film from the screen it won’t look any different. That’s because we need water to develop the design. For this part, I think throwing the screen in the shower is the easiest, but FITFON y’all. What you need to do is wet the part of the screen with the design, and either use a sprayer like a shower, or a soft sponge to remove the uncured emulsion from your design. Once this part is done, your screen is officially light safe and you no longer need to only use yellow or red LED bulbs. Any light source is now safe for your screen.
FITFON tip: If you’ve let your screens dry in a place where you don’t have a water source, you can put the dry screen in a black trash bag (the black plastic will block UV rays from getting to your screen and exposing the emulsion before you’re ready) and move it to your bathroom or kitchen--just make sure you use your emulsion safe light wherever you rinse it out! Additionally, you can use a sponge or towel, it will just take longer to remove all the emulsion.
Actually Screen Print Some Sh*t
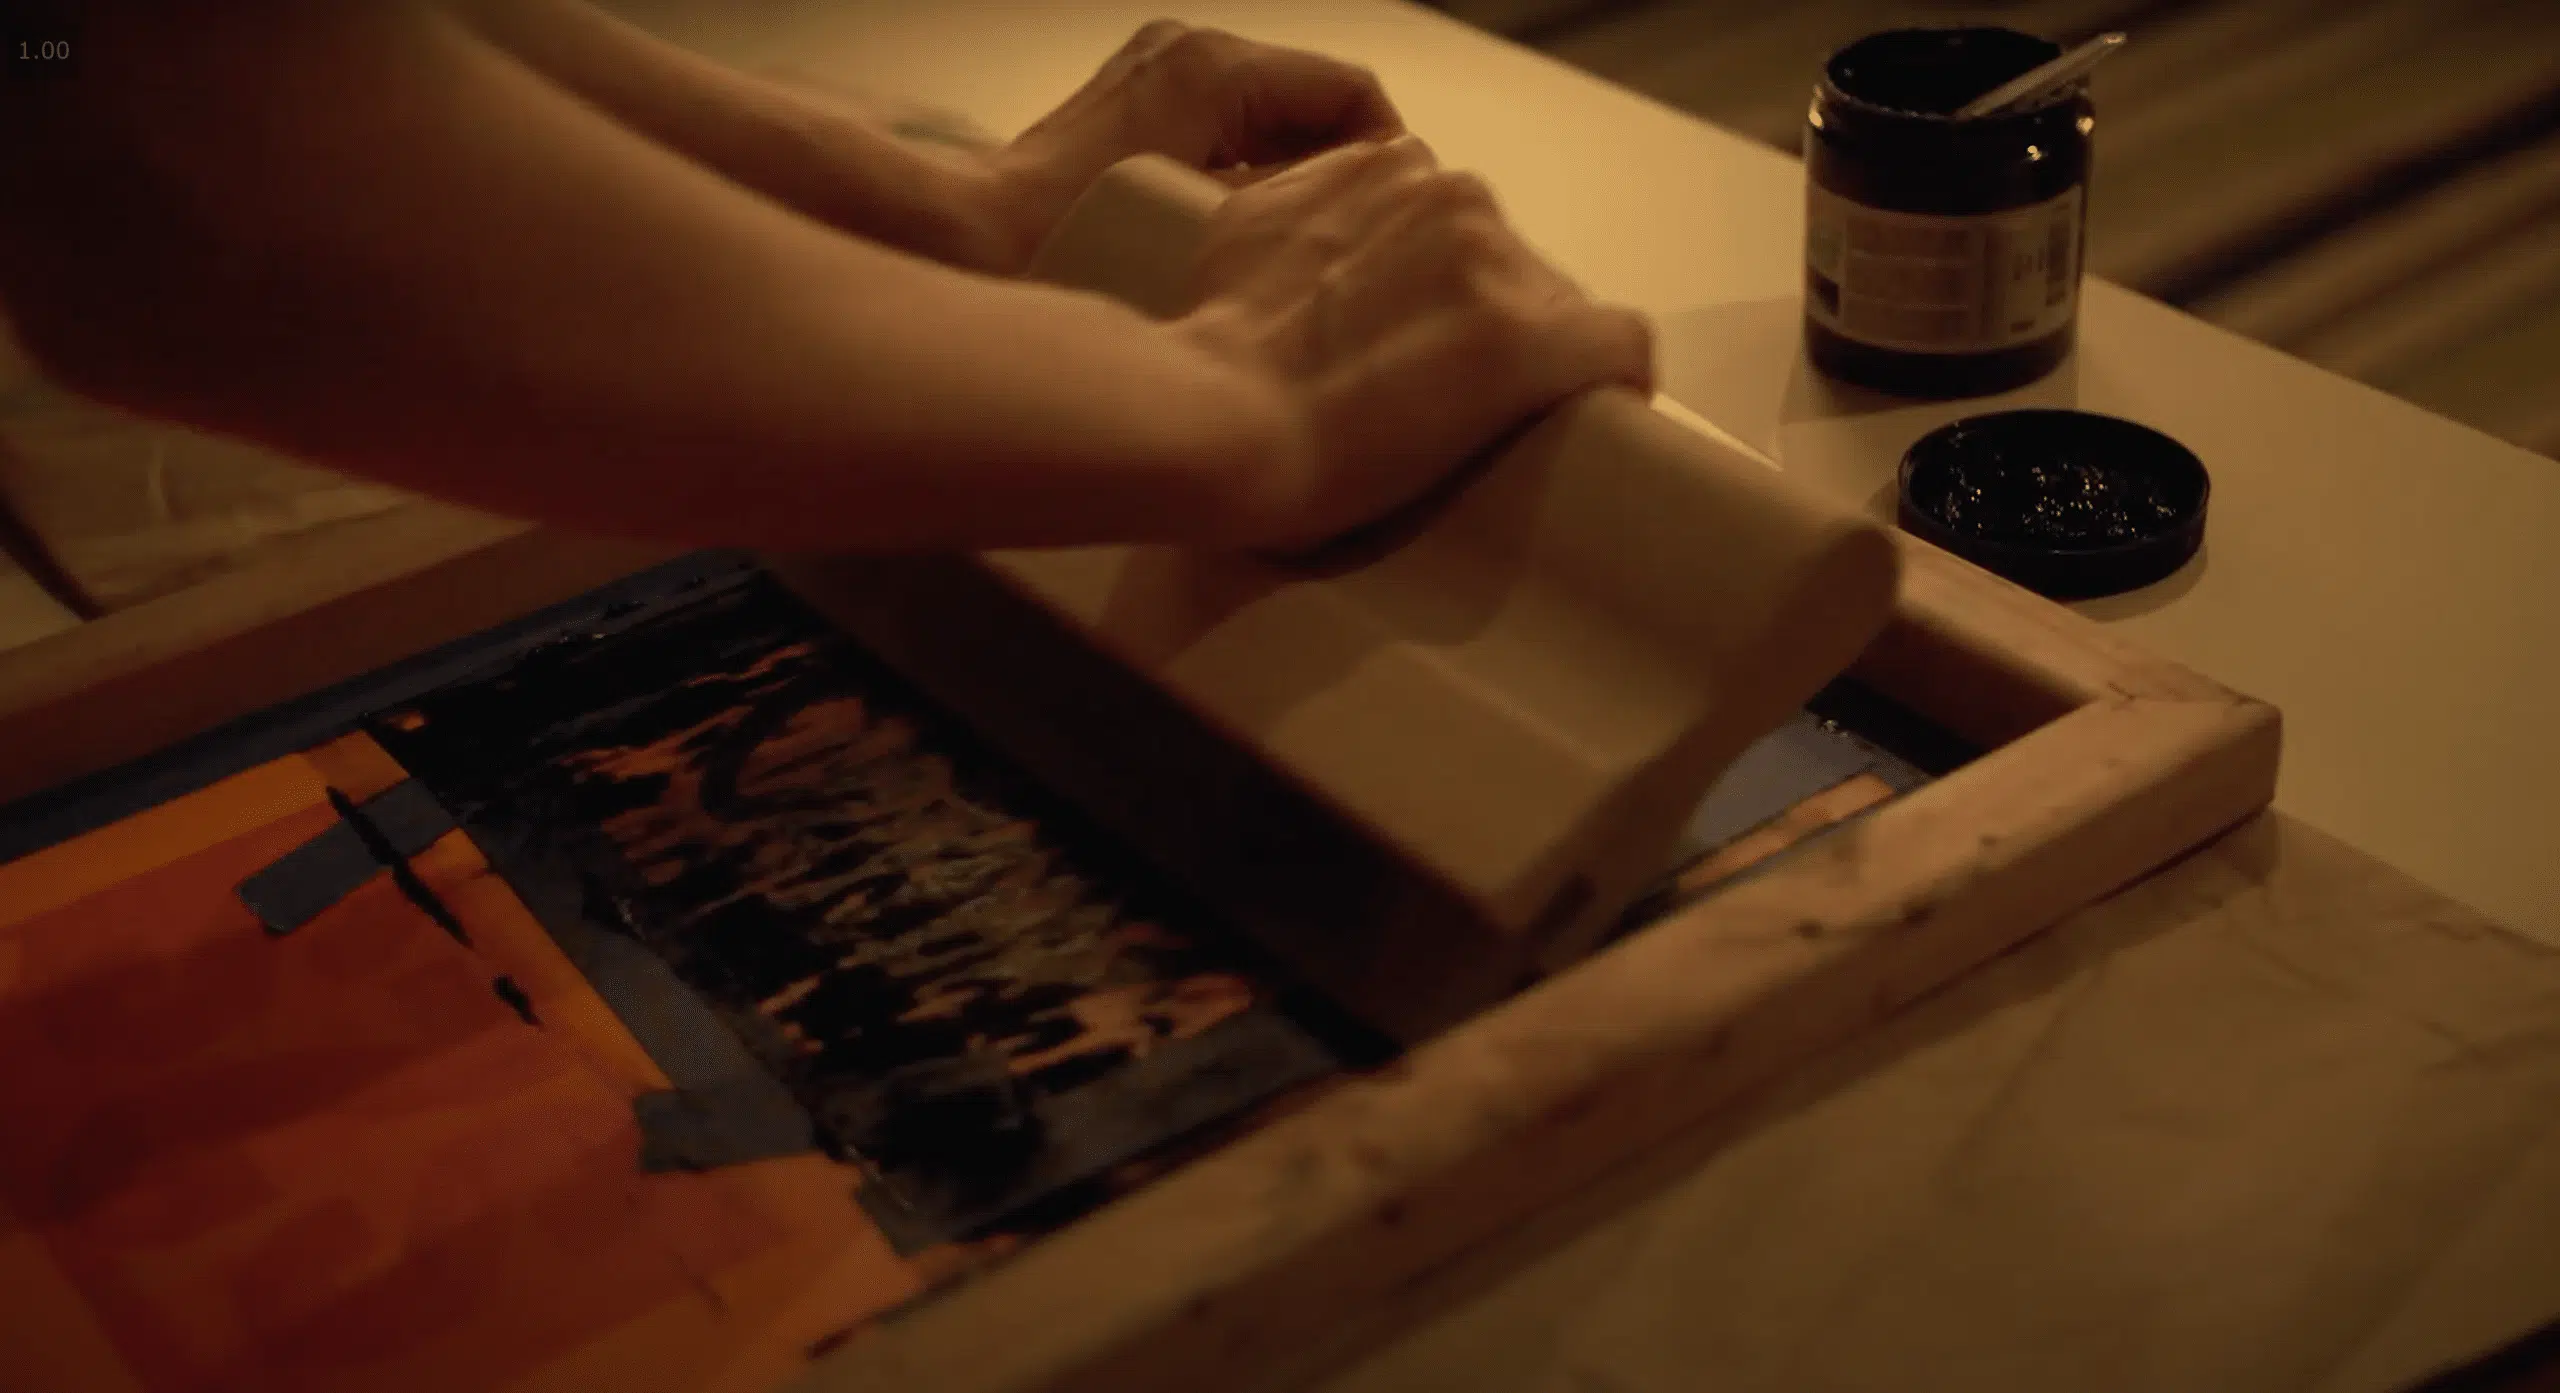
Before you begin screen printing on your actual merchandise, you’ll want to do some test prints. For this part you’ll need either scrap fabric or newspaper, your screen, your fabric ink, and a screen printing squeegee that is just a bit wider than your design. Other helpful items are painters tape and cleaning rags.
Lay out your test fabric or newspaper on a nice flat surface. Position your screen over the test material. Take your fabric paint and put a nice thick line at the top of your screen, at least the width of your design. With your squeegee, run the line of paint down your design all the way to the bottom using firm even pressure. Your screen should now be completely covered in ink. Without moving your screen, flip your squeegee around and run the ink back to the top. This should skim all the paint off the design and back to the top. Carefully lift your screen, and ta-da! You just screen printed! I like to do several test prints just to get a good flow going before I start printing on my actual product. Once you feel good and confident, it’s time to print yourself some merch!
FITFON tip: There are a number of places you can source your apparel from, really cost effectively. I’ve sourced my stuff from all over the place over the years. Amazon, walmart, forever 21, even thrift shops! The big benefit of printing at home and picking up your apparel locally, means you can print to order and do small runs without killing your margins. And, when you buy local instead of online you can feel the material before you buy it. So you know you’re not spending a bunch of money on stiff scratchy shirts that no one really wants to wear. AND, you can get lucky and hit a sale somewhere and pick up a bunch of shirts or sweaters for even cheaper! Increasing your margins even more!
Once your design is dry, heat cure your ink to the ink manufacturers specifications. If you skip this step your design will just wash out and everyone will be sad. So don’t skip it!
Materials and FITFON Tips
I’ve outlined everything you need to get started at the bottom of this page and you can order it all on Amazon today if you want! Everything to get you started will only cost about $125 USD! And certain things, like your lights, and even your screens can be used over and over--so the price only goes down from here. After a few years of home printing, I’ve slowly amassed a good collection of supplies and now my printing costs are basically just the cost of whatever I’m printing on.
But there are some more FITFON ways to bring the initial price down even more.
- You can order everything on Amazon right now, but you may actually find it cheaper to buy from your local fine arts store! The materials online are unlikely to go on sale, but your local fine arts store probably has a larger inventory of supplies to choose from and may even run regular sales! Not to mention, I’m sure they would love to have your business. #ShopLocal! It’s also great to have their expertise when you’re shopping for new materials that you’ve not used before.
- Reuse your screens! You don’t have to shell out $20-$40 for a new screen every time you want to do a new design. You can pick up a bottle of emulsion remover for around $10. This allows you to remove the cured design from your screen, so you have a clean screen that’s ready for a new design! If you’re good to your screens, they can last for quite a few designs before you need to replace them. Also, if you have a wooden screen, you can buy the screen material and replace the screen fabric instead of buying a whole new screen.
- Use your handy dandy google search to see if there are any Creative Reuse Centers near you! Creative Reuse Centers are like Goodwill for arts and crafts. They are places where artists of all mediums can donate unused materials, and then those materials can be shopped at a discount by people who need them. In Nashville, we have an amazing one called Turnip Green Creative Reuse. I’ve been able to get screens, ink, screen cleaners, and squeegees at Turnip Green for a fraction of the cost I would have paid buying them new! There are Creative Reuse Centers all over the world, so check and see which one is closest to you!
FITFON Aptitude Test
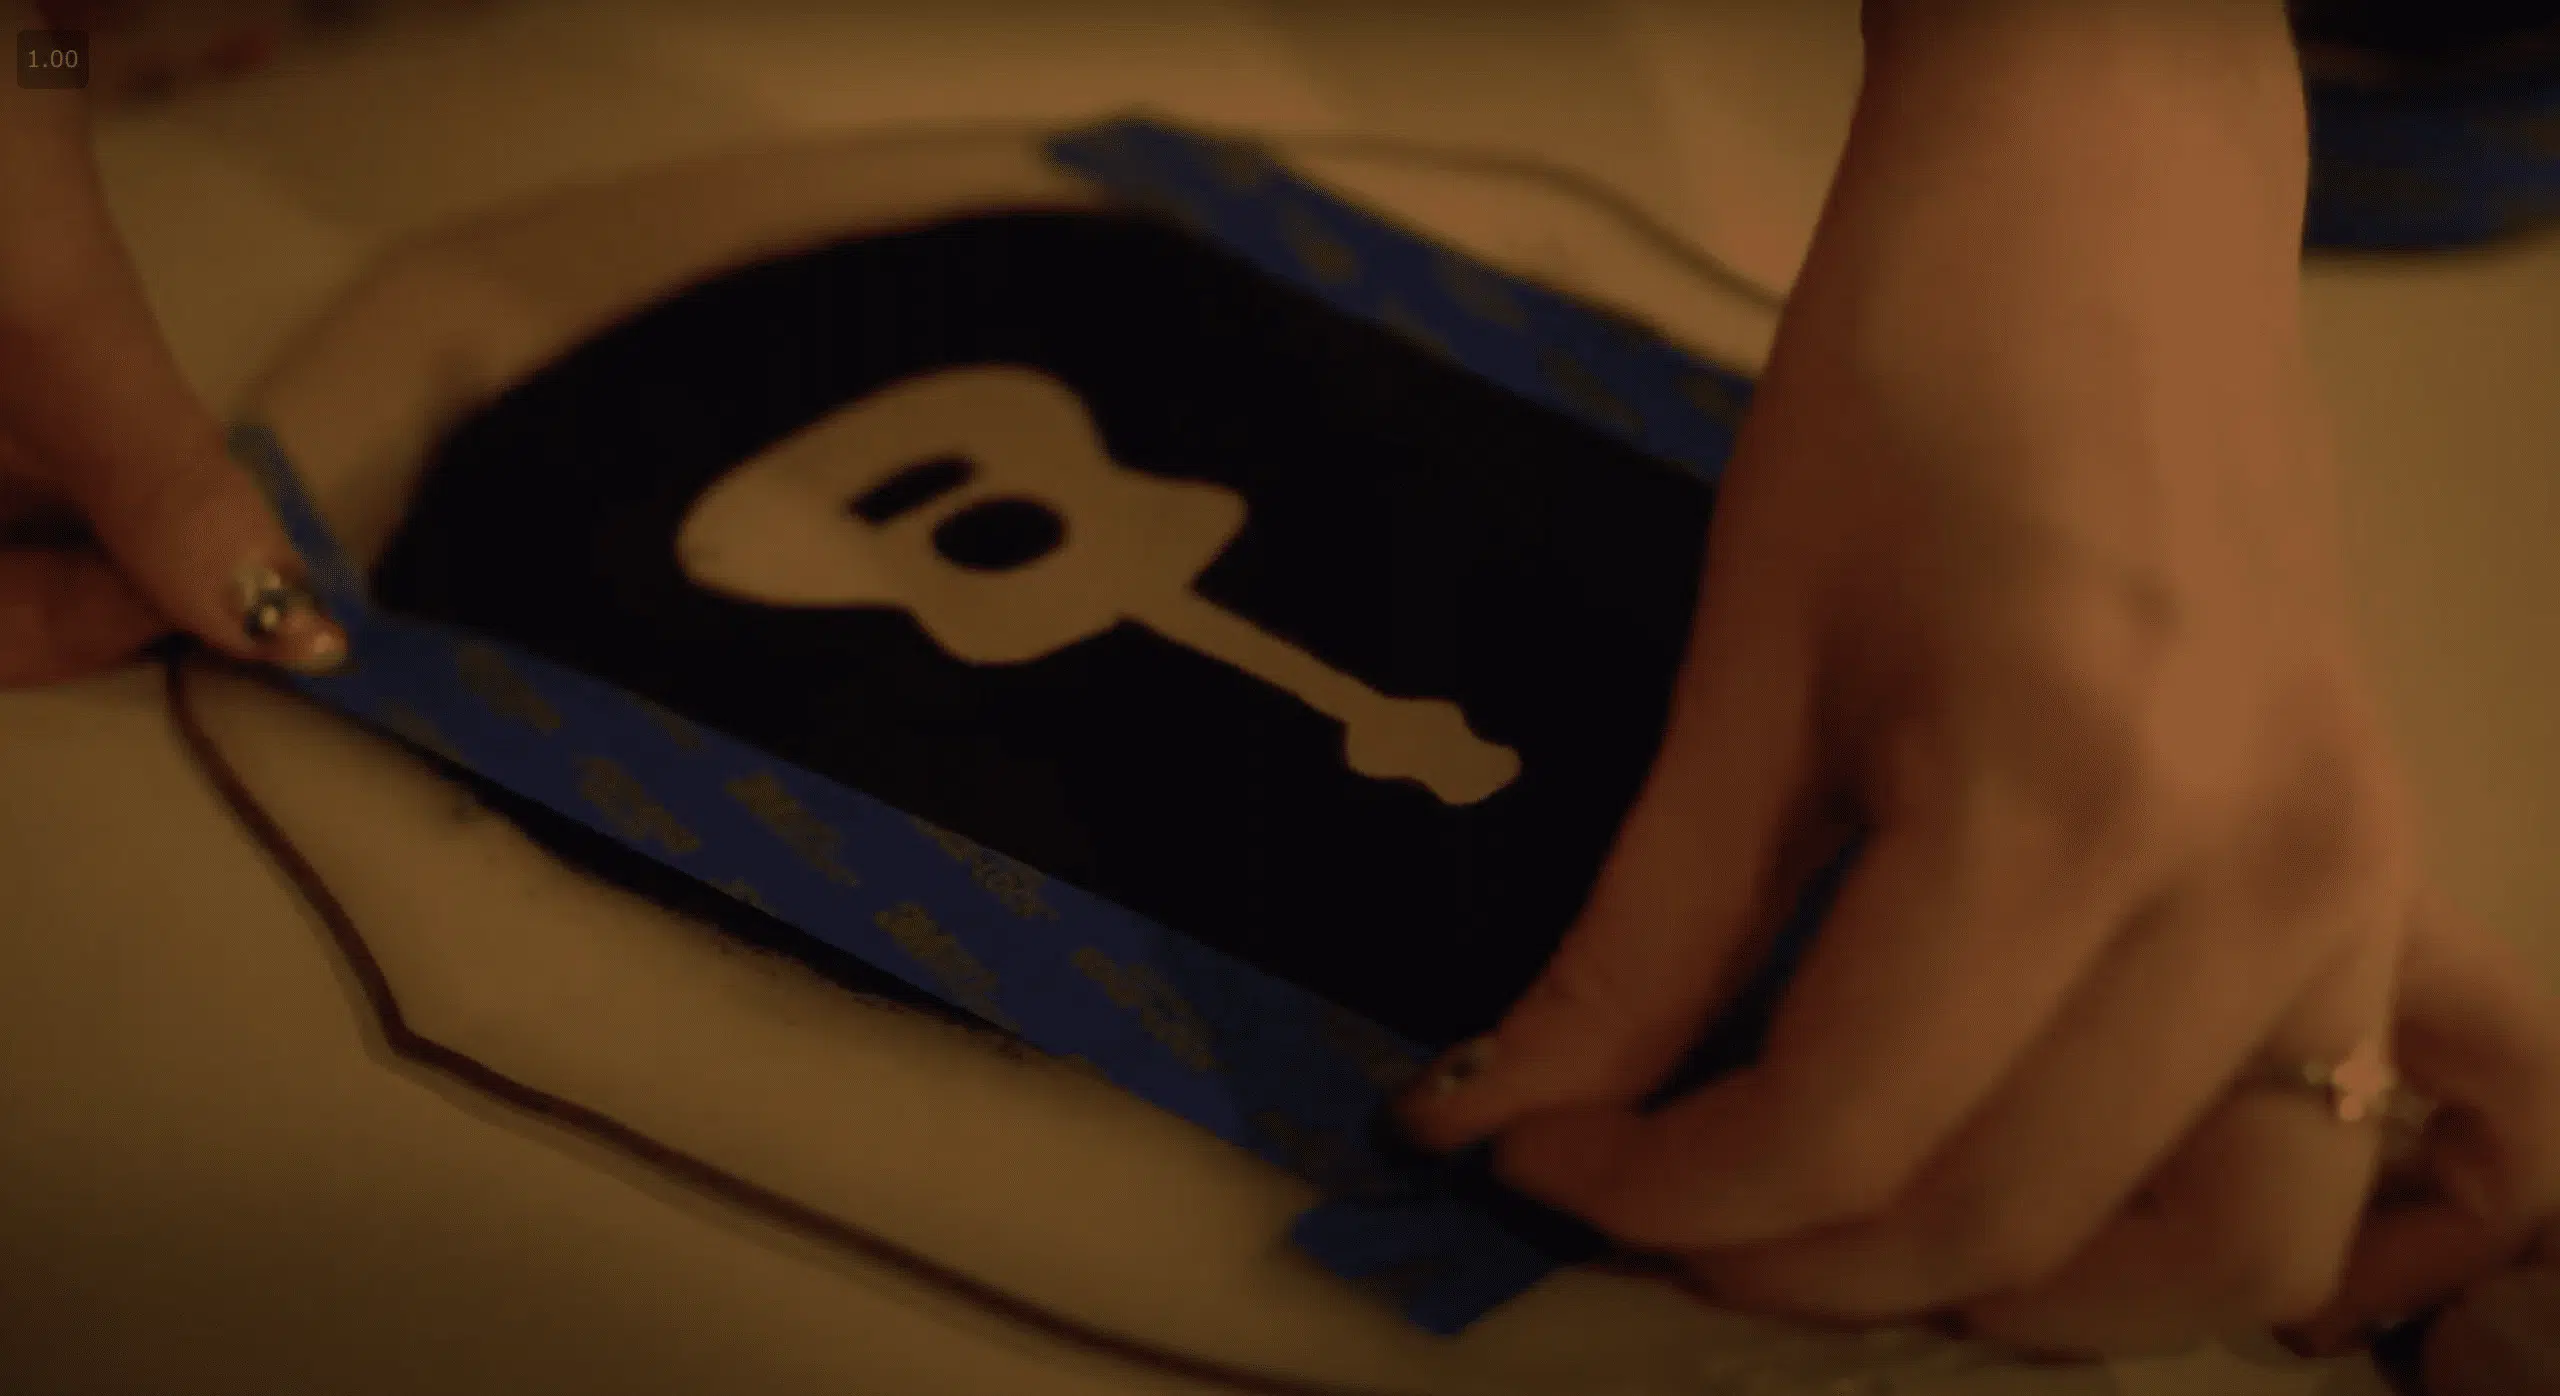
Finally, in the spirit of FITFON, I wanted to see if I could print at home for even less money. So I challenged myself to figure out how to screen print using only materials I could find at home. Here’s what I came up with.
- A wire hanger for my frame
- The leg of some old stockings for my screen
- Acrylic paint for my “emulsion”
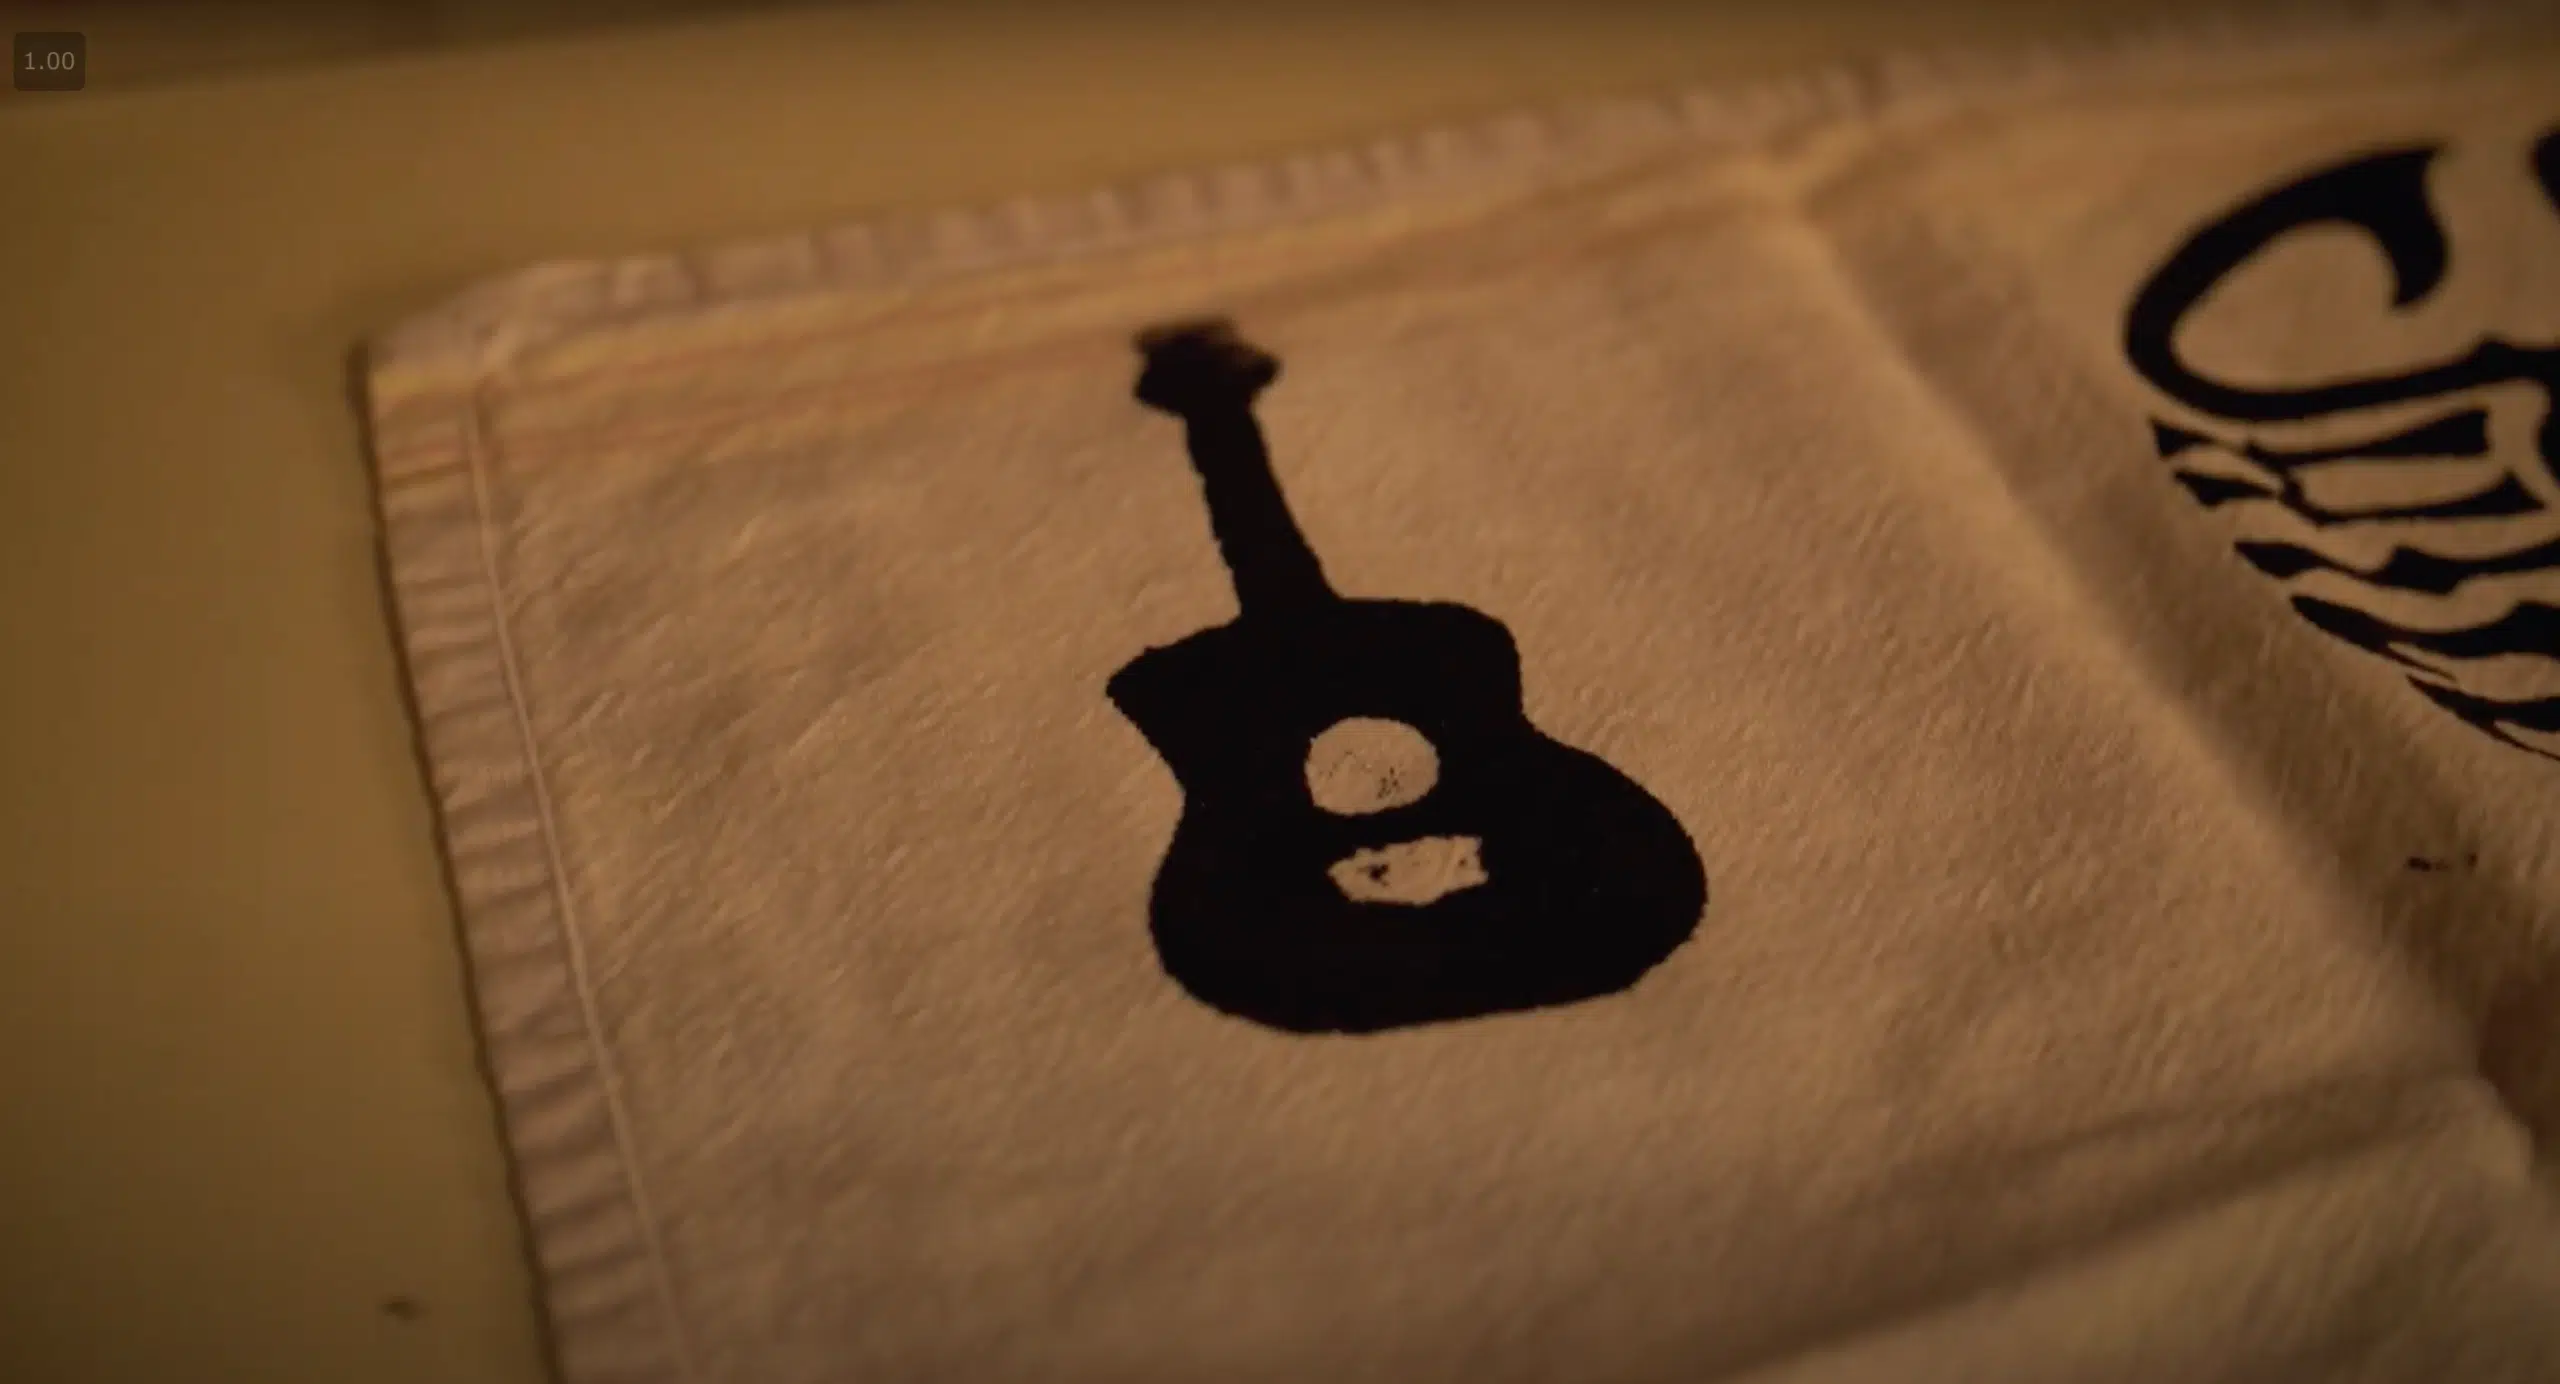
So, I tore through the closet and found an old wire hanger. After a few minutes I had it stretched out into a rough oval shape. I then took the leg of the old stockings and stretched it over my “frame.” This stretched the stockings out enough to create a pretty good substitute for a screen. Then, I used a magic marker to sketch a guitar shape onto the screen. Then, using black acrylic craft paint, I painted around the outside of the guitar design so that only the guitar shape was exposed screen. After it dried completely, I used a piece of cardboard wrapped in duct tape as a squeegee to test print my design. To my surprise, it actually worked pretty well! It definitely has a DIY look to it, but done correctly, could make a very cool design.
This screen cost me literally $0. This is not going to be near as sharp of detail, but the point is you can do this! You can Figure It The F*uck Out!
I hope at the end of this you can see just how doable it is for you to start making merch at home! Whether your budget is $5 or $500, you can make something truly creative and special for your fans right in your own garage. Your only limit is how far your creativity and FITFON can take you!
Materials needed:
Profesh setup:
*Rough Total: $117.98
DIY setup:
Total: Under $20

About the author:
Graci Phillips is Indepreneur's Community Manager & Indie Success Specialist. Graci is part of our Nashville team and specializes in providing resources and solutions to our members, community building, and highlighting success stories within this incredible community.
If you aren't yet part of our Indie Community, you can get access to our entire library of music business trainings, our entire suite of exclusive discounts on partner products and services for musicians, our 4000+ private community of Indies, and weekly live stream Q&A's and coaching calls by signing up for INDIEPRO!
Just click below to join for a $1, 30-day trial and see what all the fuss is about 

