Email Warmup Guidelines
In this lesson, we will learn best practices for email marketing and how to warm up your Email Sending Domain and server to maximize deliverability of your emails.
WARNING: If you do not complete these steps, your emails are likely to get sent to the Spam folder more often!
Luckily, these steps are easy to follow and won't take long at all to implement. So, lets dive in!
1. Enable Email Validation, Invalidation, and Unsubscribe Links
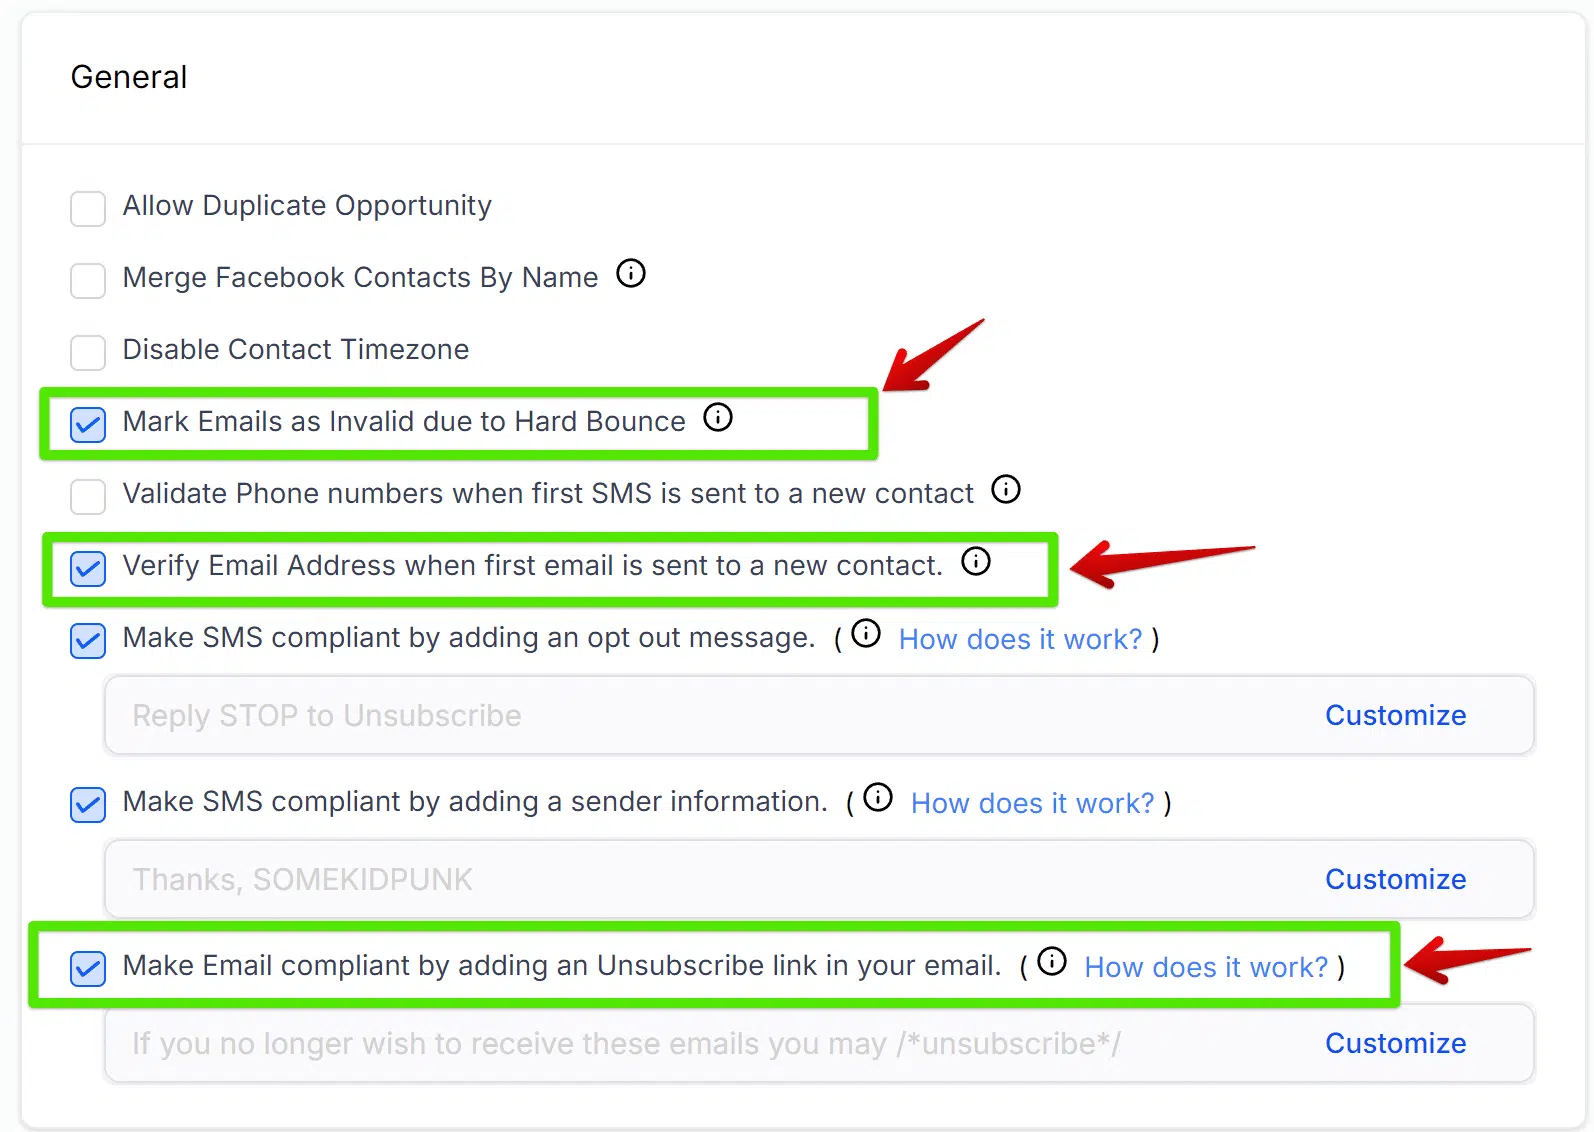
- In your CRM account, navigate to Settings > Business Profile
- Scroll down until you see a list of checkboxes on the right hand side
- Ensure that "Verify Email Address when first email is sent to a new contact" is enabled/checked off
- Ensure that "Mark Emails as Invalid due to Hard Bounce" is enabled/checked off
- Ensure that "Make Email compliant by adding an Unsubscribe link in your email." is enabled/checked off and customize your unsubscribe message
2. Add A DMARC Record To Your DNS Settings
- Navigate to your DNS provider where you add DNS records
- Add a new record of the type "TXT"
- In the name field, type "_dmarc" (remove quotation marks)
- In the content/value field, copy and paste "v=DMARC1; p=quarantine" (include quotation marks)
- Use this DMARC checker and enter your domain name (do not enter a subdomain) to verify that your DMARC records are correct
3. Use Best Practices For Email Warmup (1-2 Weeks)
Make sure to follow these best practices to ensure that your email sending authority is warmed up properly and you do not end up in the Spam folder:
Only use your main domain as a "From" address in your emails
When creating a workflow email or sending an email campaign (one-off), you will have the option to designate your "From" email.
It's important that you always use your main domain in this "From" email and not a sub-domain.
For example, using name@yourdomain.com is best practice.
Using name@mail.yourdomain.com is not best practice.
This is true even if you added a sub-domain as your sending domain in a previous lesson - using your main domain will work and is better for sending authority.
Don't send high volumes of email all at once (for now)
For the first 1-2 weeks, you will want to ramp up your email sending (starting small) so as to avoid hard bounces from email inboxes. The reason for this is that, unlike most email marketing softwares such as MailChimp or Drip, the CRM does not share server instances across many users. Your sending domain is unique to you and must be ramped up over time to gain trust with inboxes.
The diagram below shows the "stages" of email warmup (consider "Stages" as "Campaigns"):

IMPORTANT: If you are sending to more contacts than is listed in the "Daily Sending" section of the diagram above, you will want to reduce your Hourly Sending rate so that you do not go over the Daily Limit.
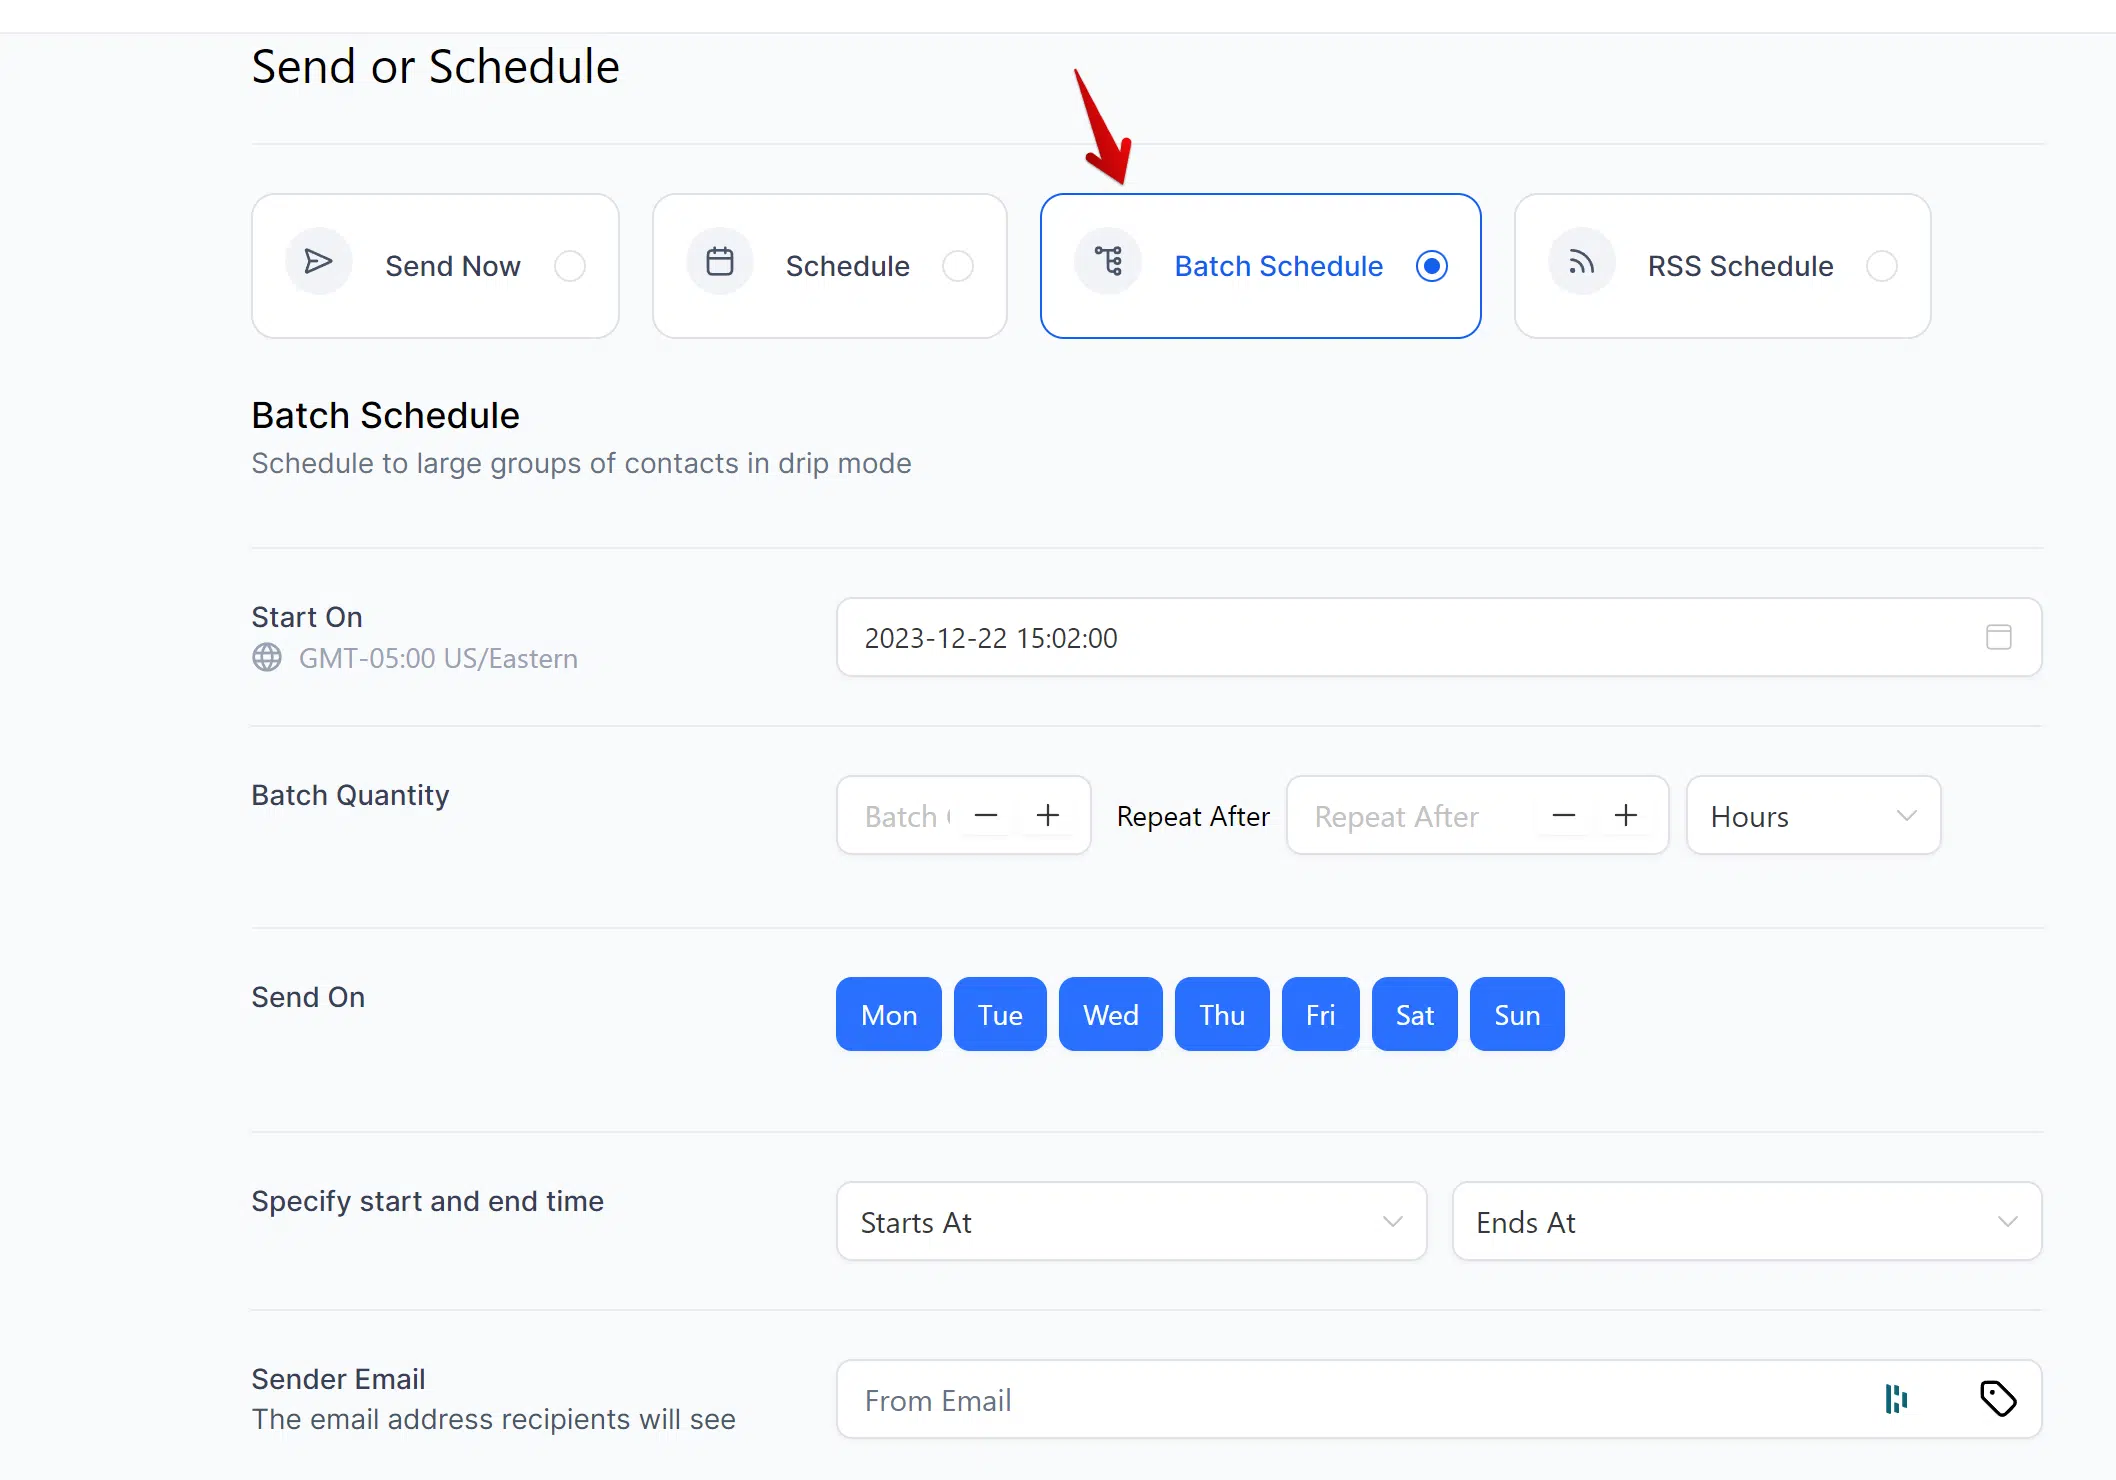
In the Marketing > Email Campaign section, when constructing a one-off email, you will have the option to send your email in batches over time. You can use this Batch Schedule feature to follow these guidelines until your account is warmed up:
Check your emails for "spammyness"
Generally, you will send less workflow emails than one-off email campaigns. This is because subscribers will enter workflows one-at-a-time based on various conditions, but email campaigns will sent to a large portion of your list (or the entire list) all at once.
For this reason, we want to ensure that the content of your one-off email campaigns does not trip the spam detection of inboxes. To do that, follow these steps for the first 1-2 weeks whenever you are sending one-off email campaigns:
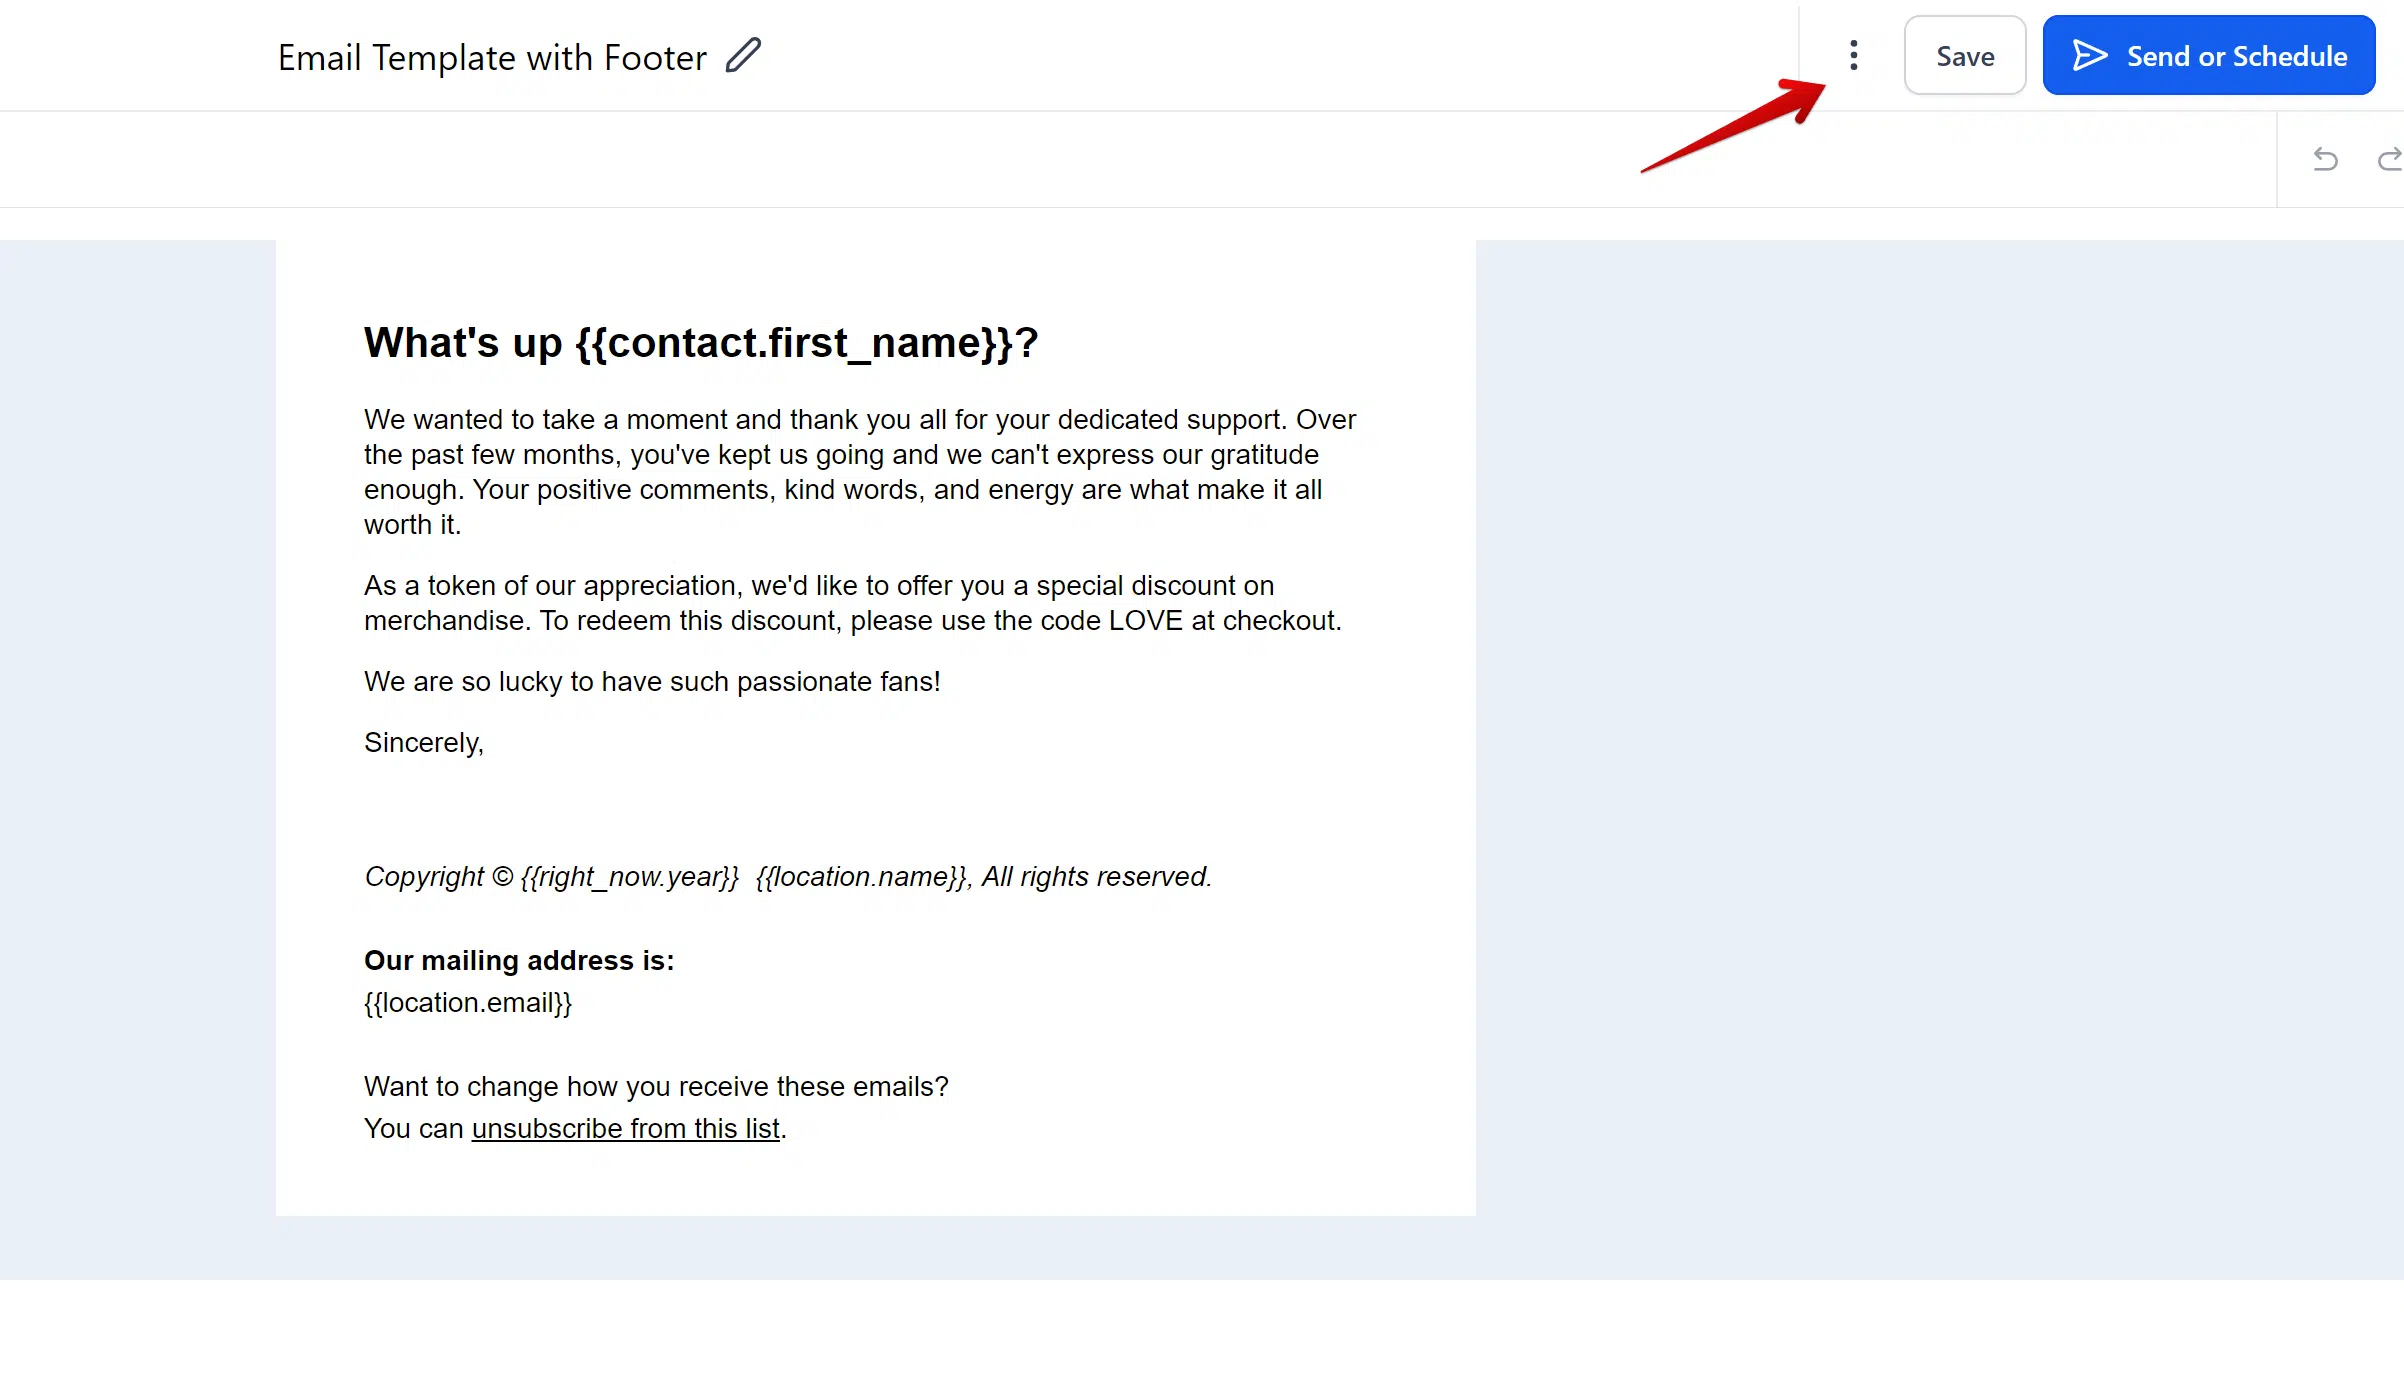
- When you are done writing your email, click the three dots at the top of the email builder window
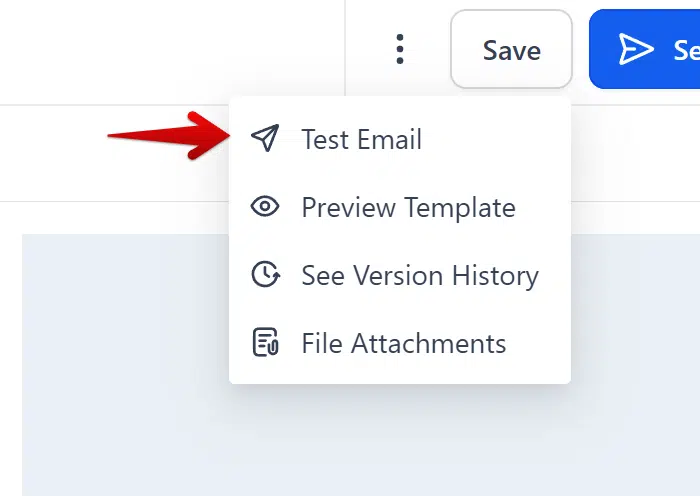
- Click "Test Email"
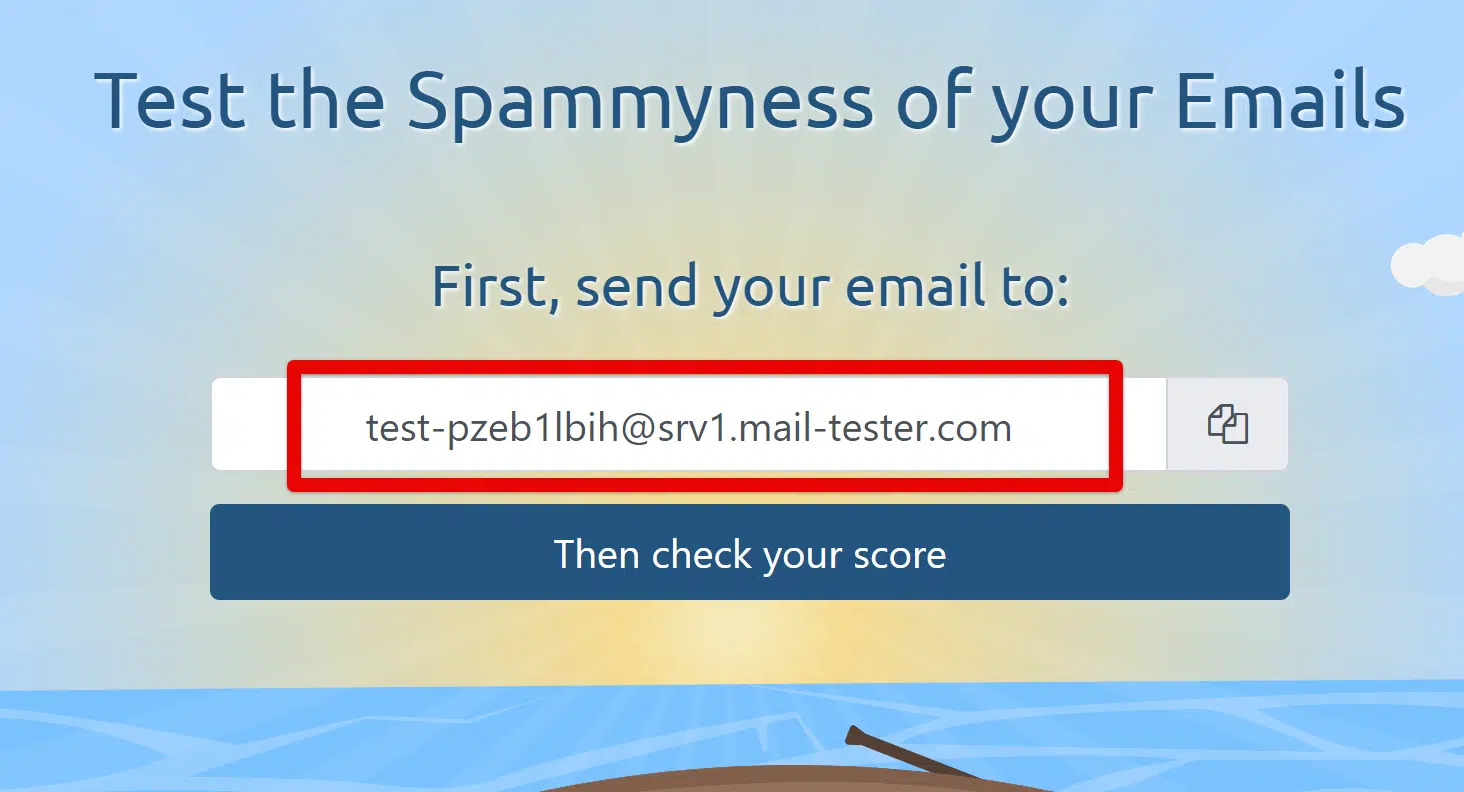
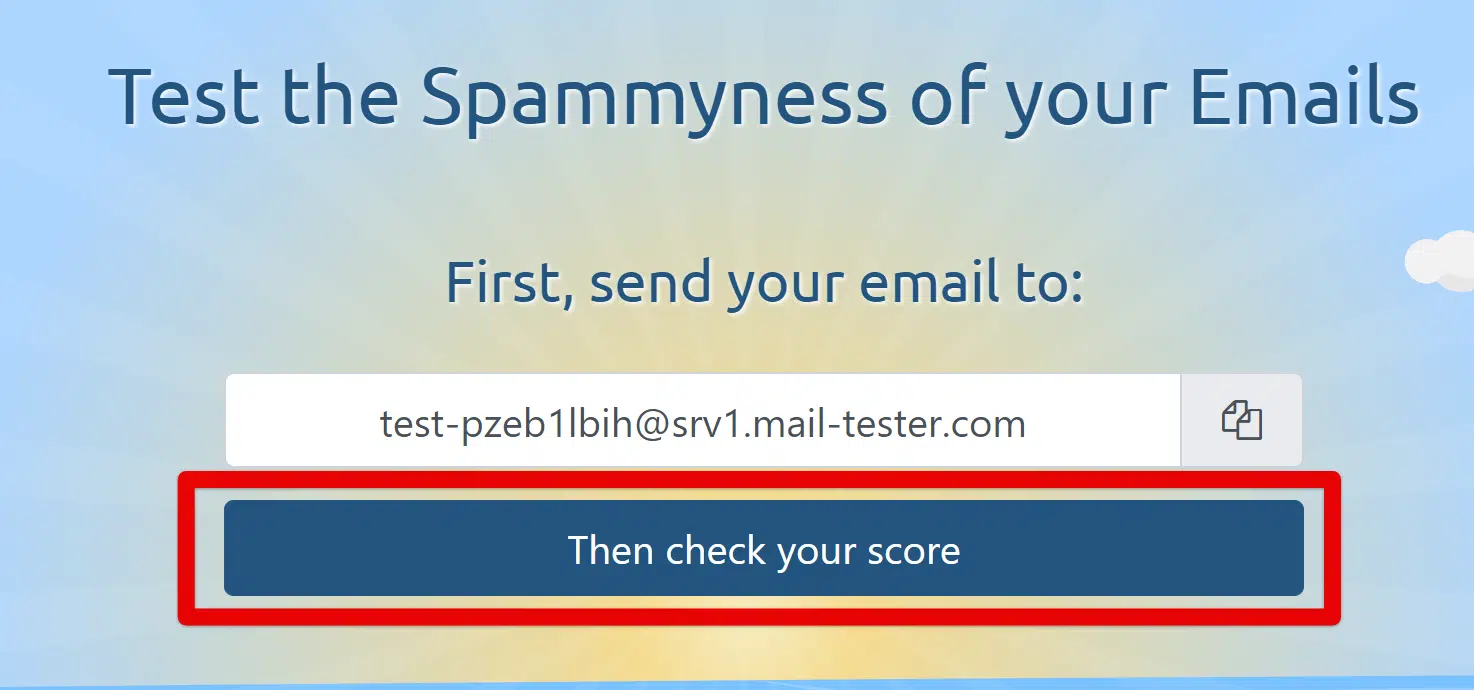
- In a separate tab, open this email spammyness checker tool and copy the email address listed to your clipboard
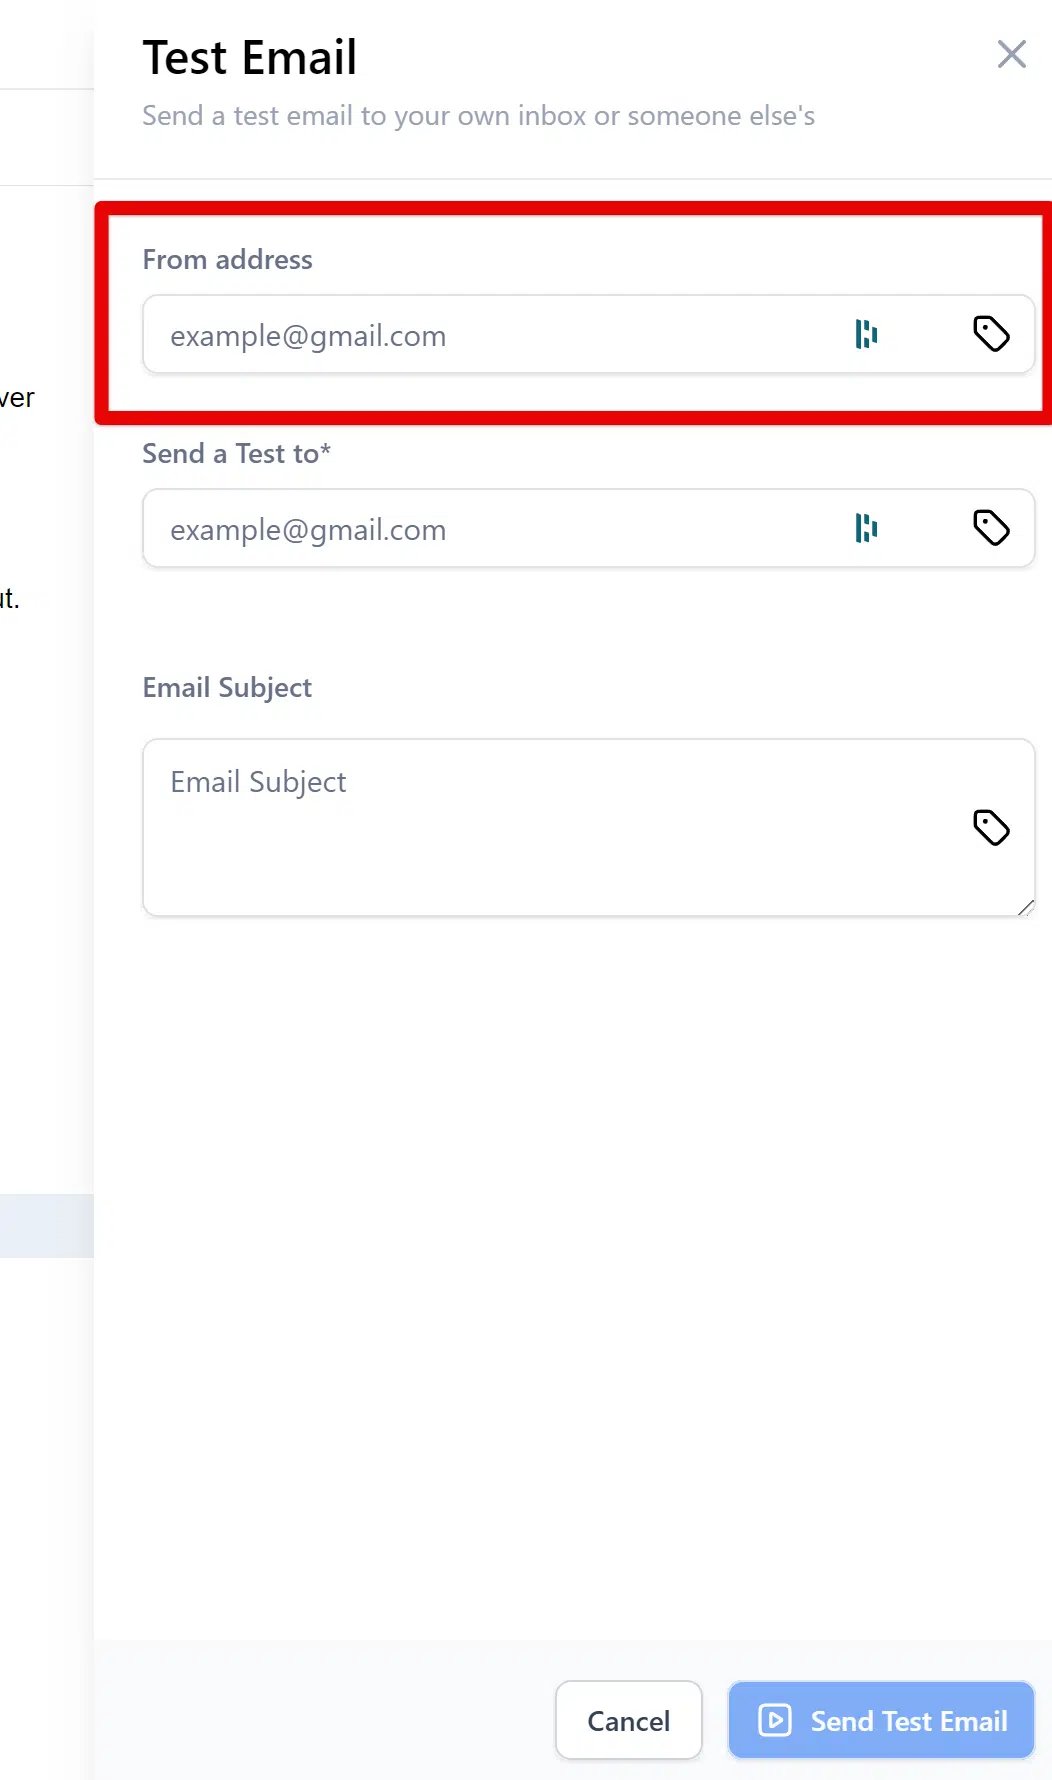
- Return to the email builder window and, in the "From" email field, input an email address (make sure to use your main domain in the address, not a sub-domain)
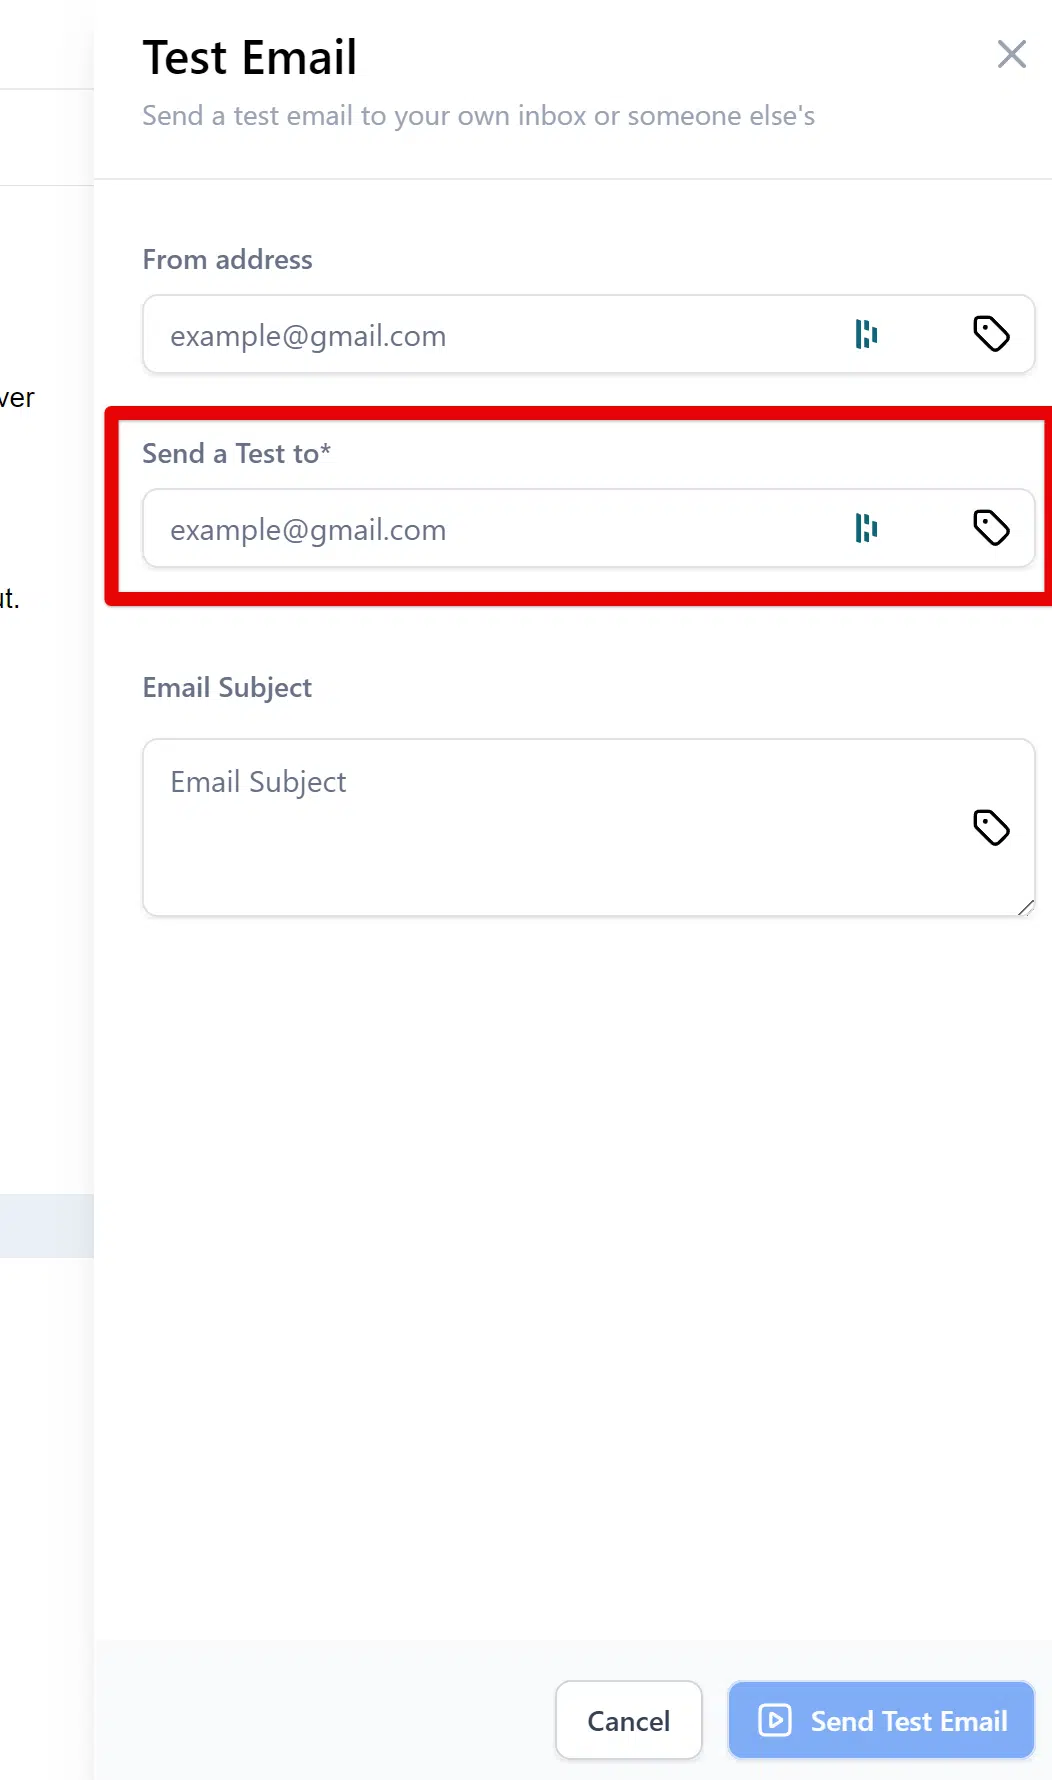
- In the "Send a Test to*" field, paste the email address you copied from the spammyness checker
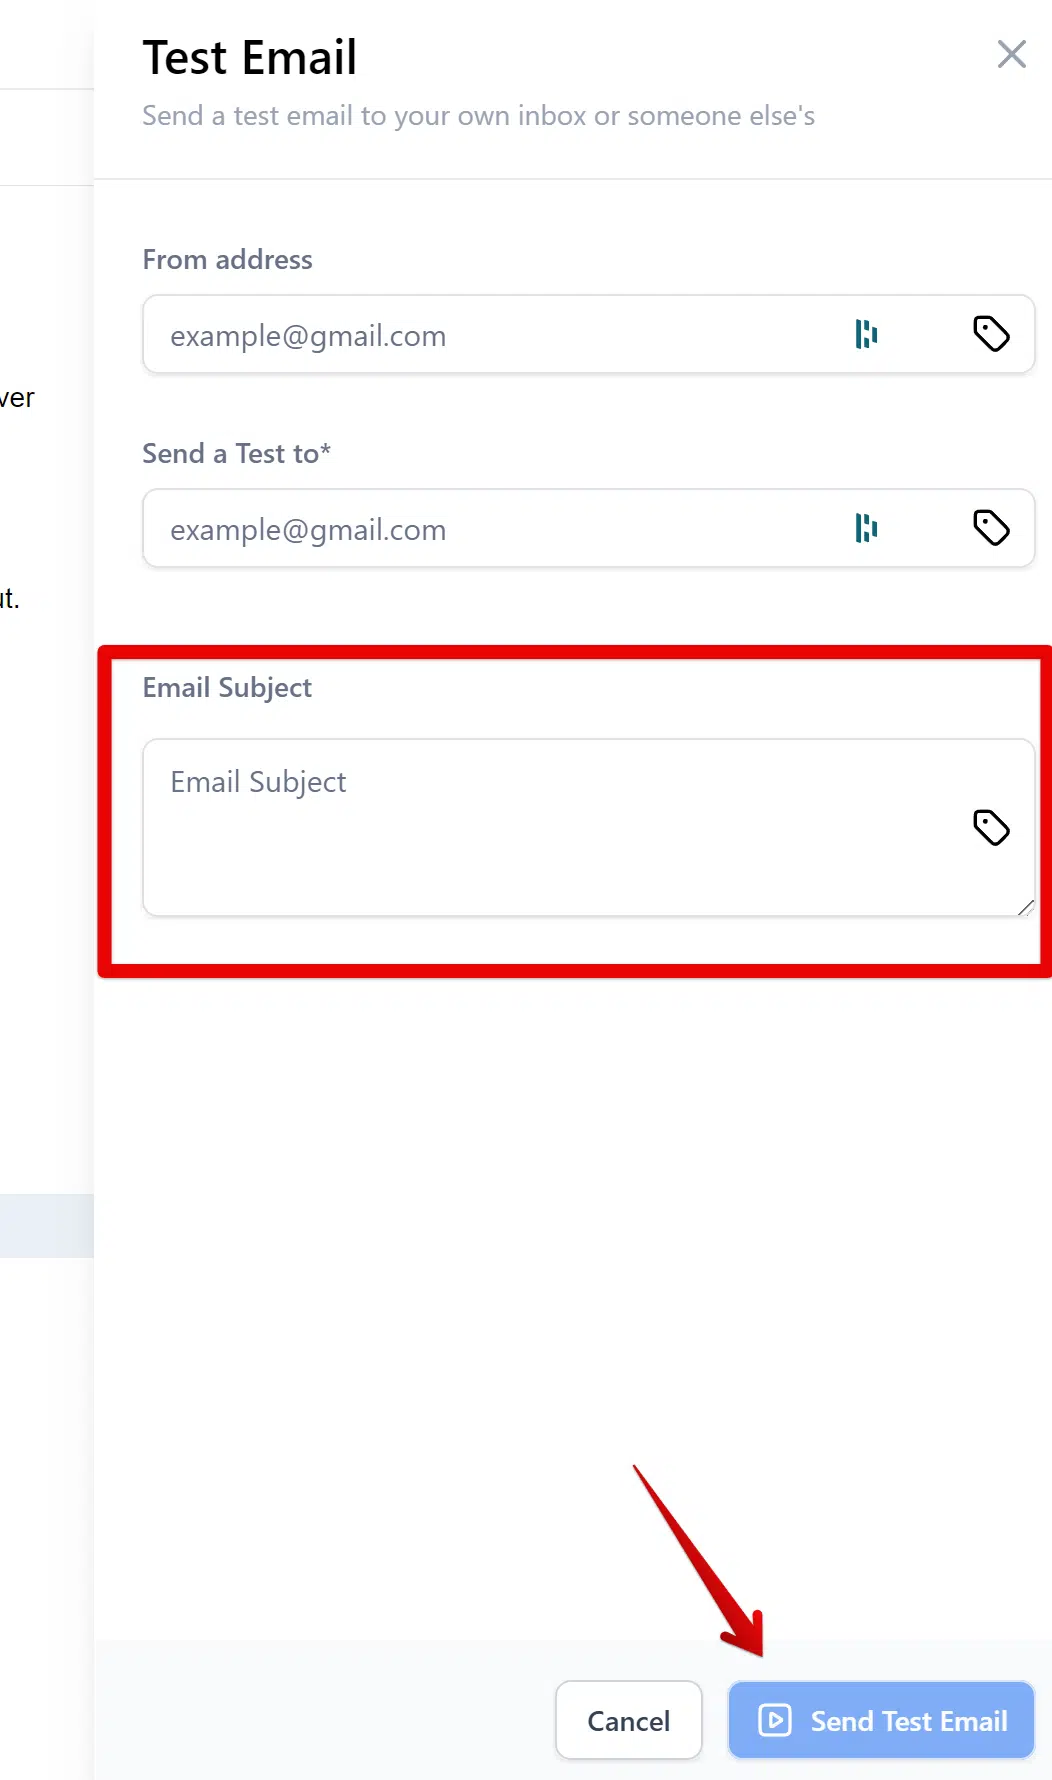
- Input a Subject Line and click "Send Test Email"
- Click over to the tab with the email checker pulled up and click "Then check your score"
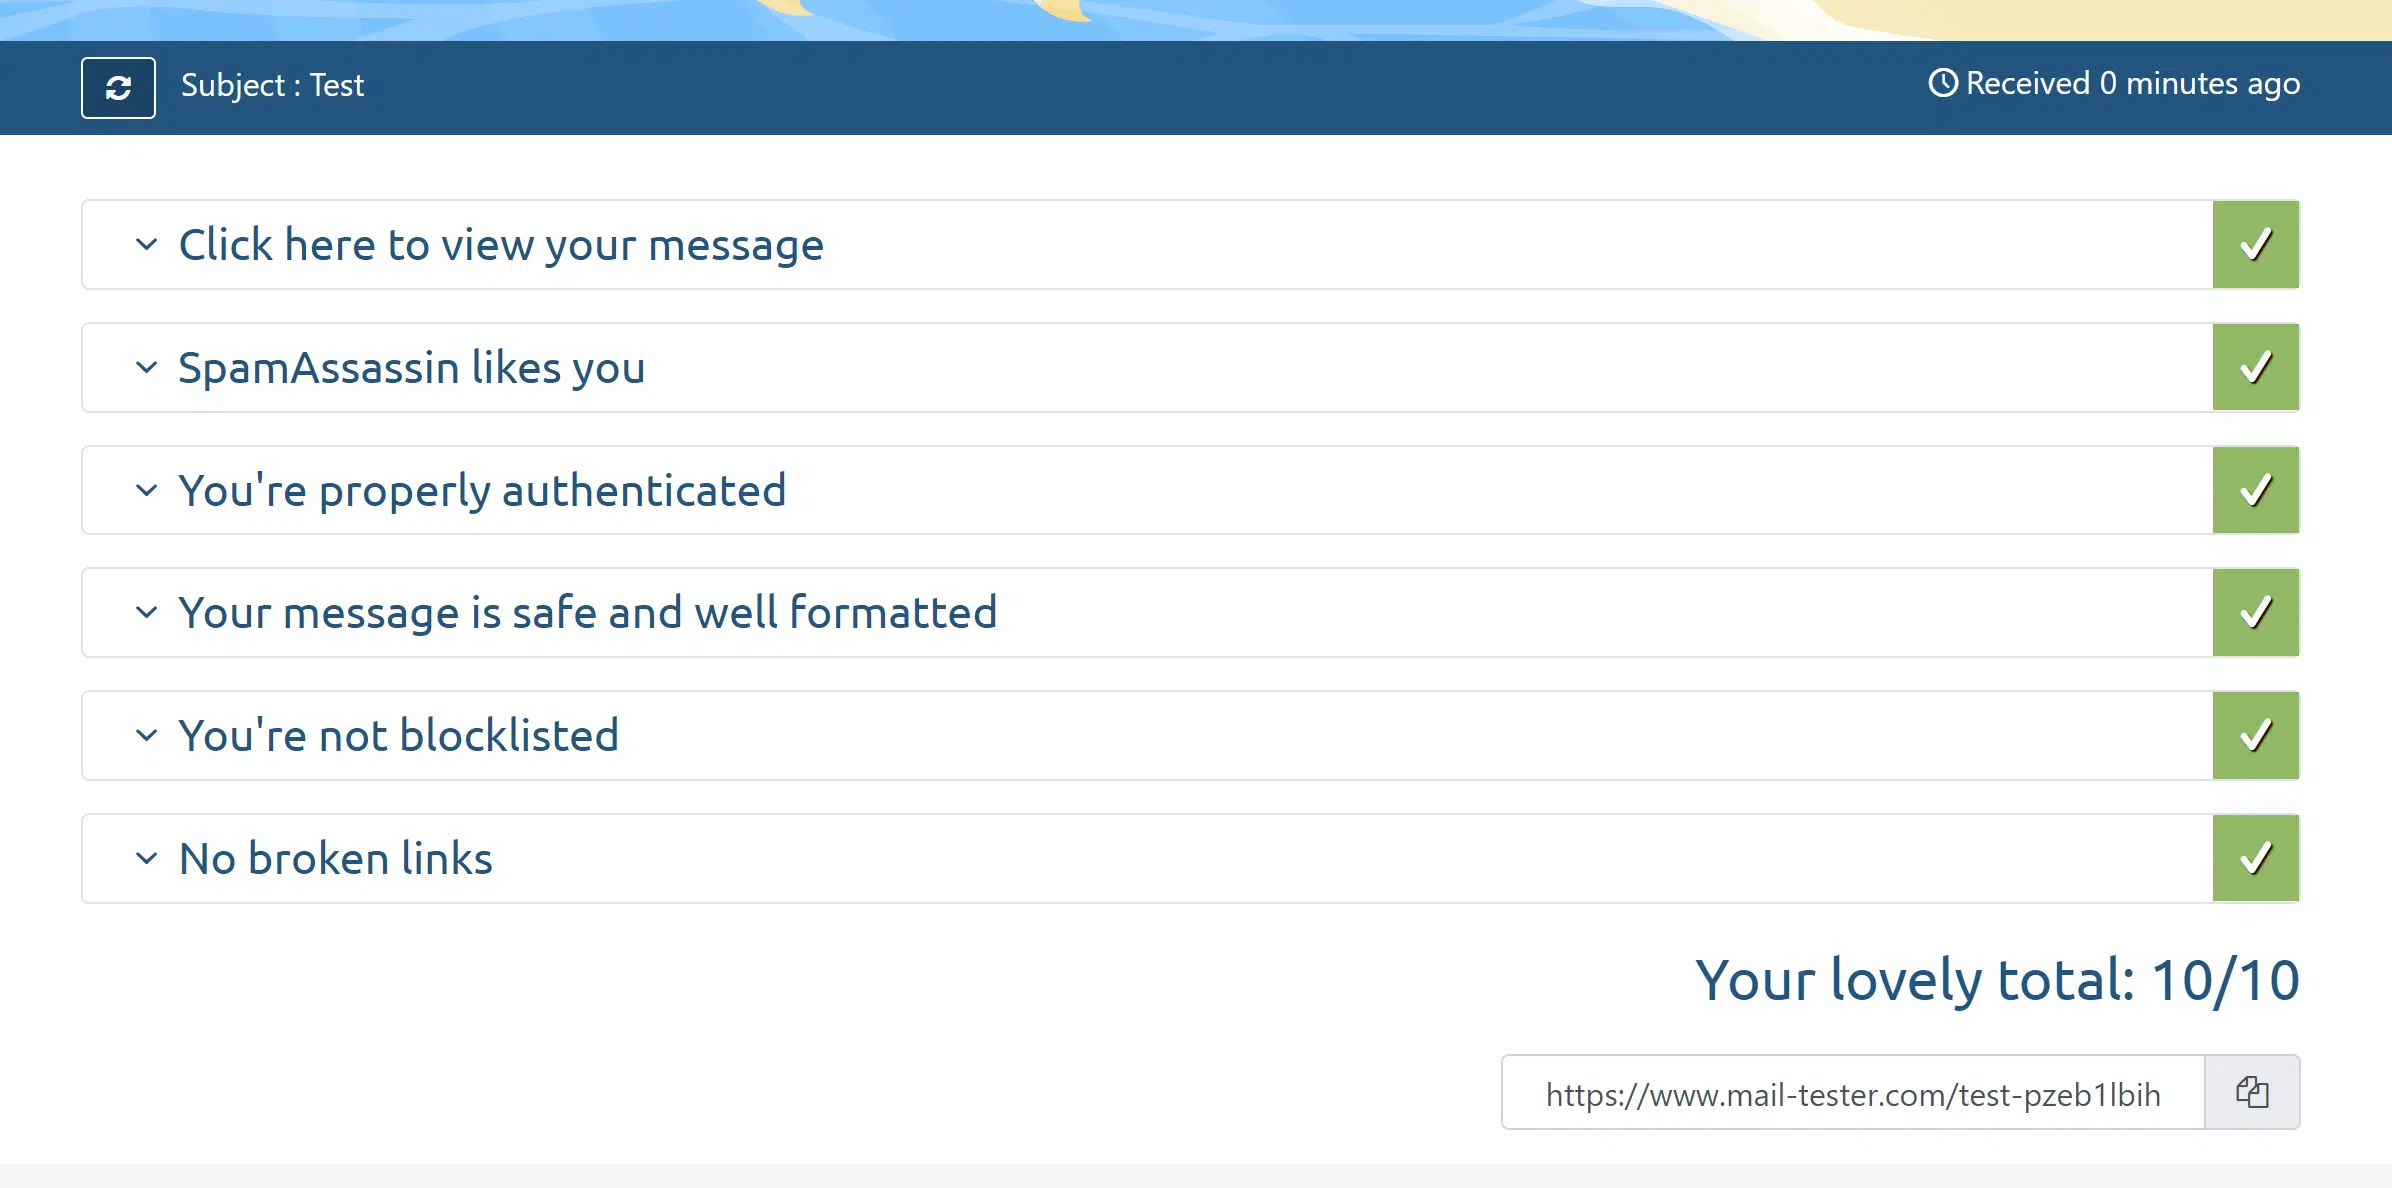
- If you receive a poor score, use the checklist at the bottom of the page to improve your score and test again before sending your email campaign.
And thats it!
If you follow these steps, you should have a great sending reputation within a week or so and your emails will largely stay out of the Spam folder of your fans.
When you've completed these steps and reviewed your instructions for sending emails over your first set of campaigns, you can mark this lesson complete and continue to the next lesson!